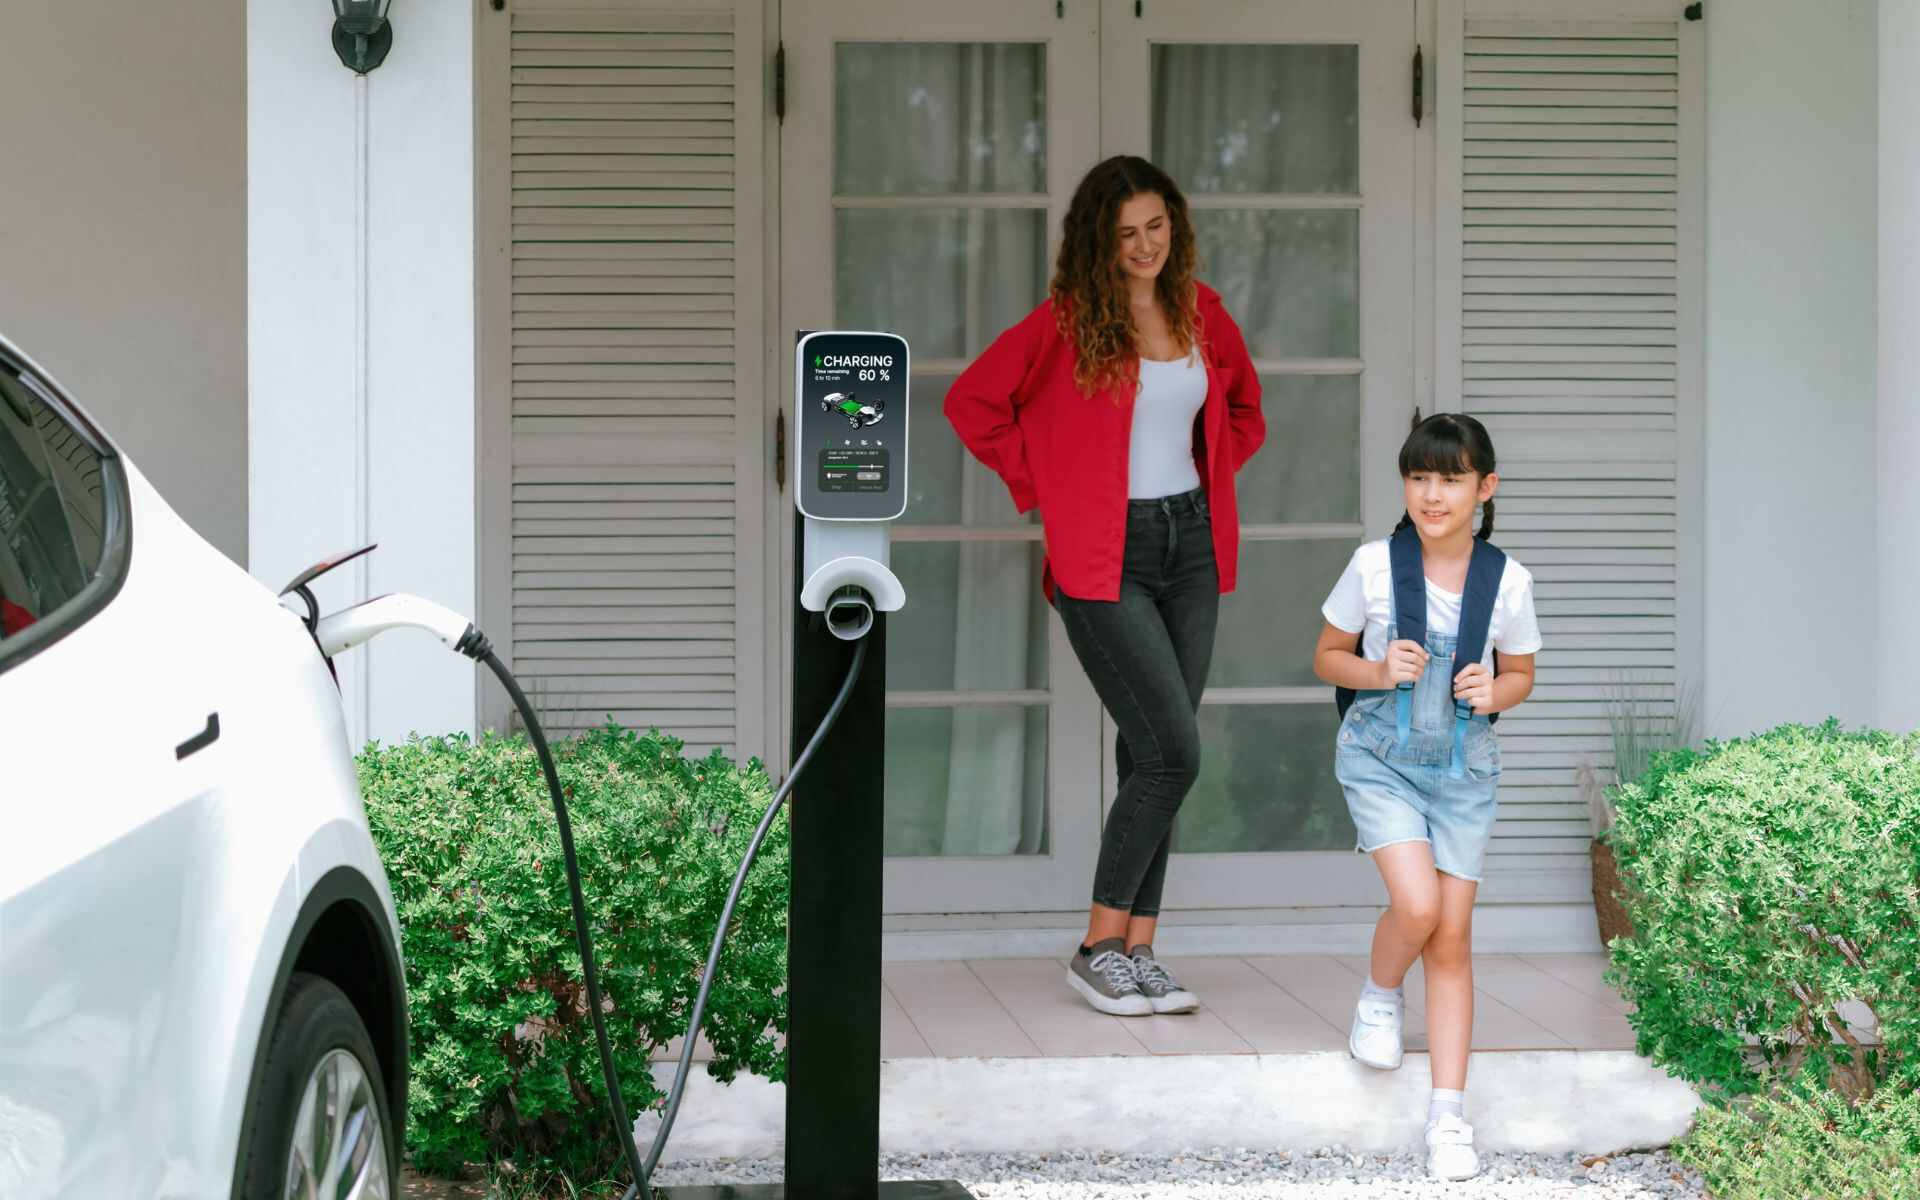
Owning an electric vehicle (EV) is exciting, but many new owners quickly realize that charging at home is the real game changer. Public charging stations are useful, but they cannot match the convenience of plugging in at your house and waking up to a full battery every day.
Installing an EV home charging station might sound complicated, but with the right guidance, it becomes a smooth, rewarding project. This guide will walk you through everything you need to know, from understanding the basics to final installation and troubleshooting.
Whether you are a new EV owner or planning to buy one soon, you will learn how to set up a reliable, safe, and efficient home charging solution.
Understanding Home Ev Charging
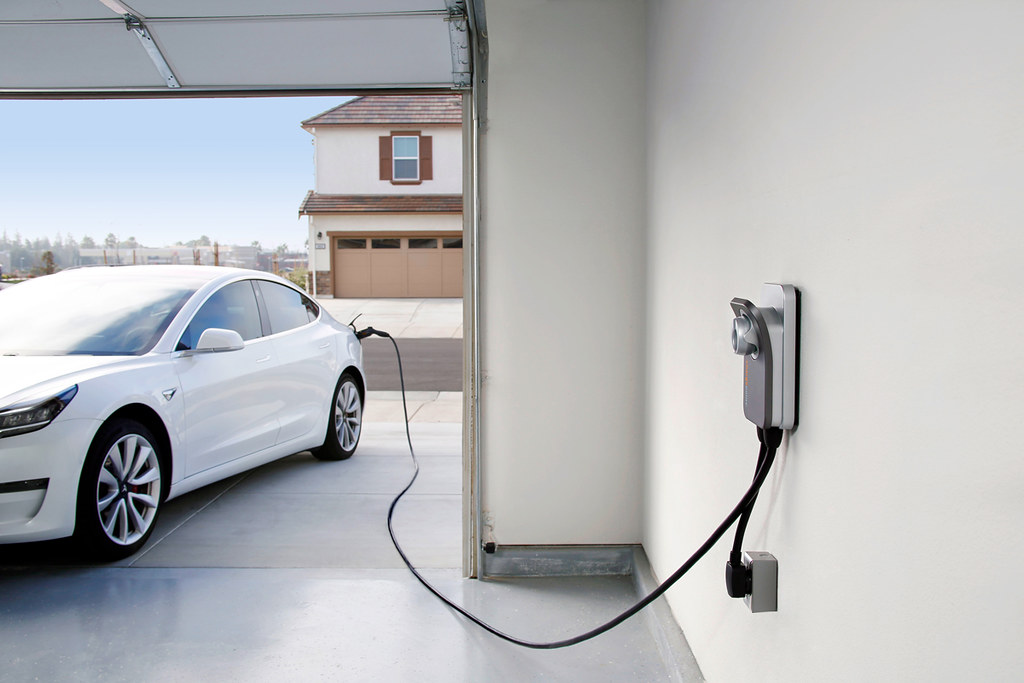
Home EV charging means connecting your electric vehicle to your household electricity supply. There are two main types of home charging: Level 1 and Level 2. Level 1 charging uses a standard household outlet (120V in the US), while Level 2 requires a special charging unit and a 240V outlet, offering much faster charging times.
Why Home Charging Matters
Charging at home is not just about convenience. Studies show that over 80% of EV charging happens at home. With your own station, you avoid waiting in line, reduce “range anxiety,” and can take advantage of lower night-time electricity rates. It also helps your battery last longer because home charging is usually slower and gentler compared to fast public chargers.
Level 1 Vs Level 2 Charging
To make things clearer, here’s a quick comparison:
| Feature | Level 1 Charging | Level 2 Charging |
|---|---|---|
| Voltage | 120V | 240V |
| Charging Speed | 4-5 miles/hour | 20-30 miles/hour |
| Installation | No electrician needed | Requires electrician |
| Best for | Short daily commutes | Faster charging, longer drives |
For most EV owners, Level 2 charging is the best choice. It balances speed, convenience, and cost, especially if you drive more than 30 miles a day.
Preparing For Installation
Before you start, preparation is key. A rushed decision could lead to wasted money or even safety risks.
Check Your Home’s Electrical Capacity
Modern EVs draw a significant amount of power. It’s essential to know if your electrical panel can handle the extra load. Find your home’s main circuit breaker panel and look for the total amperage (commonly 100A or 200A in North America). A typical Level 2 charger needs a dedicated 240V circuit rated at 30-50 amps.
If your panel is already full or close to its limit, you may need an electrical upgrade. Ignoring this step can cause tripped breakers or fire hazards.
Assess Your Parking Situation
Think about where your EV will be parked most often. Is your garage close to your electrical panel? Do you park in a carport, driveway, or under a covered space? The distance between your panel and charging spot affects installation cost and complexity.
- Garage installations are usually easiest.
- Outdoor installations need weatherproof chargers and may require digging to run cables underground.
Local Rules And Utility Requirements
Some cities have special codes for EV chargers. Many require permits and inspections. Contact your local building department before starting. Also, check with your electric utility. Some offer rebates, special EV charging rates, or even free installation assessments.
Budgeting For The Project
Installing a Level 2 EV charger typically costs between $500 and $2,000. The charger unit itself ranges from $300 to $900, and installation adds $200 to $1,500, depending on site complexity.
Here’s an overview:
| Cost Item | Low Estimate | High Estimate |
|---|---|---|
| Charger Unit | $300 | $900 |
| Installation Labor | $200 | $1,500 |
| Permits/Inspection | $50 | $200 |
| Electrical Upgrades | $0 | $2,000+ |
Tip: Some utility companies and governments offer rebates or tax credits, which can reduce your total cost by 20-50%. Always research incentives in your area.
Choosing The Right Ev Home Charger
Not all chargers are the same. Picking the right one saves you time, money, and headaches down the road.
Consider Compatibility
Most EVs use the J1772 connector for Level 2 charging in North America, except Tesla, which uses its own connector (but offers adapters). Always check your car’s manual.
Power Output And Amperage
Chargers come in different power ratings, from 16 amps (slow) to 50 amps (very fast). Higher amperage means faster charging, but only if your car and electrical system can handle it.
- 16A charger: Adds about 12 miles of range per hour.
- 32A charger: Around 25 miles per hour.
- 40-50A charger: Up to 37 miles per hour for compatible EVs.
Real-world insight: Many EVs can’t use the highest possible amperage. Check your car’s maximum charging rate before buying a 50A charger you may not need.
Smart Features
Modern chargers offer WiFi or Bluetooth connectivity. These smart chargers can:
- Schedule charging for off-peak times (cheaper electricity)
- Track energy use with a smartphone app
- Receive firmware updates for new features
While smart chargers cost more, they offer better control and can save you money over time.
Indoor Vs Outdoor Use
If you park outside, buy a charger rated for outdoor use (NEMA 4 or 4X enclosure). These units resist rain, dust, and extreme temperatures.
Cable Length
Longer cables (20-25 feet) are more flexible, letting you park in different spots. But longer cables can be harder to manage and slightly more expensive.
Warranty And Support
Choose a brand with a strong warranty (at least 2-3 years) and responsive customer support. Look for reviews mentioning easy warranty claims and helpful technical advice.
Top Charger Brands
Some popular, reliable brands include ChargePoint, JuiceBox, Tesla Wall Connector, Grizzl-E, and ClipperCreek. Always buy from authorized dealers or the manufacturer’s official website.
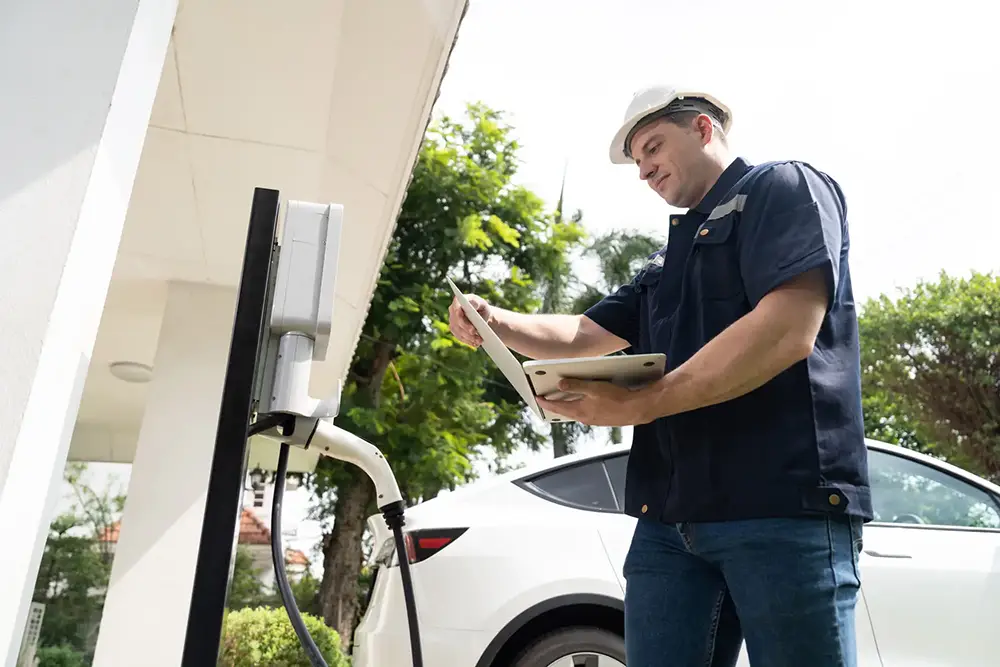
Hiring A Professional Vs Diy Installation
Installing a Level 2 EV charger involves working with high voltage electricity. For most people, hiring a licensed electrician is the safest choice.
When To Diy
If you have experience with electrical work, understand local codes, and your installation is simple (for example, your garage panel is close by), you might consider a DIY install. However, you still need permits and inspections in most areas.
Why Hire A Pro?
- Safety: Improper wiring is dangerous.
- Code Compliance: Electricians know local rules and can pull permits.
- Insurance: Some home insurance policies require professional installation.
- Warranty: Some charger brands only honor warranties if installed by a licensed pro.
Non-obvious insight: Even if you’re handy, electricians often spot issues like undersized panels, hidden water leaks, or outdated wiring that you might miss.
Getting Quotes
Get at least three quotes from local electricians. Ask for:
- Proof of license and insurance
- Experience with EV charger installations
- A written estimate (including permits and parts)
Credit: qmerit.com
Step-by-step Installation Process
Once you’ve chosen your charger and installer, here’s what to expect.
1. Site Assessment
The electrician will inspect your panel, measure cable runs, and check for obstacles. They’ll recommend the best charger placement for safety and convenience.
2. Permit Application
Most areas require an electrical permit. Your electrician usually handles this. It’s essential for insurance and future home resale.
3. Electrical Panel Upgrades (if Needed)
If your panel is full or outdated, it may need upgrading. This can add cost and time but ensures safe operation.
4. Running The Circuit
The electrician installs a new dedicated circuit from the panel to your charging spot. This includes:
- Heavy-gauge wire (size depends on amperage and distance)
- A new breaker in your panel
- Conduit (protective tubing) for the wiring
5. Charger Mounting
The charger is mounted on the wall (or a pedestal for outdoor use). Units must be at a safe height and clear of obstructions.
6. Wiring And Connections
Wires are connected to the charger and the breaker panel. Outdoor installations use weatherproof outlets and enclosures.
7. Inspection
A city inspector checks the work to ensure it meets all codes. Don’t skip this step—even if it delays things by a few days.
8. Final Testing
Your electrician tests the charger with your vehicle, making sure it charges correctly and all safety features work.
Charging Best Practices
Getting the most from your home charging station means more than just plugging in.
Schedule Charging For Off-peak Hours
Electricity is often cheaper at night. Many EVs and smart chargers let you set a timer so charging starts after midnight.
Don’t Overcharge
Modern EVs have battery management systems, but it’s still wise to avoid keeping the battery at 100% for long periods unless you need the range for a trip.
Keep Your Charger Clean
Dust and moisture can damage the charger over time. Wipe the unit and cable with a damp cloth occasionally.
Periodically Check Connections
Once a year, have an electrician inspect connections for corrosion or wear, especially in humid climates.
Use Surge Protection
A power surge can damage your charger or vehicle. Ask your electrician about installing a whole-house surge protector.
Troubleshooting Common Issues
Even the best chargers can have problems. Here’s how to handle them.
The Charger Won’t Turn On
- Check the circuit breaker for a trip.
- Make sure the charger is plugged in and the outlet has power.
- If using a smart charger, check your WiFi connection.
Charging Is Slow
- Confirm you’re using the correct charging level.
- Some cars automatically limit charging speed if the battery is cold or very hot.
Charger Shows An Error Code
- Consult your charger’s manual for the specific code.
- Try unplugging and restarting both the charger and your car.
- If the error continues, call customer support.
The Cable Feels Warm
Some warmth is normal, but if the cable is hot to the touch, stop charging and call an electrician. This could be a sign of loose connections or a faulty cable.
Tip: Never use extension cords with a Level 2 EV charger. They can overheat and cause fires.
Safety Tips And Mistakes To Avoid
Home EV charging is very safe when done right, but mistakes can be costly.
Don’t Skip Permits
Unpermitted work can void your insurance and cause headaches if you sell your home.
Avoid Overloading Circuits
Never share your EV charging circuit with other appliances. Dedicated circuits reduce fire risk.
Install Gfci Protection
A Ground Fault Circuit Interrupter (GFCI) protects against electric shock, especially outdoors or in damp garages.
Plan For The Future
If you think you might own a second EV soon, consider installing a higher-capacity charger or extra conduit now. It’s much cheaper to do everything at once.
Check For Rebates
Many people miss out on rebates or tax credits by not researching before buying. Always ask your utility or check sites like the U.S. Department of Energy’s incentives database.
Environmental And Financial Benefits
Charging at home is not just convenient—it’s also better for your wallet and the planet.
Save Money
On average, charging an EV at home costs about $0.10 to $0.20 per kWh in the U.S., compared to $0.30+ at public fast chargers. For most drivers, this means spending 50-70% less on fuel compared to gasoline cars.
Reduce Carbon Footprint
If your utility offers green energy or you have solar panels, charging at home can be nearly carbon-free. Over the car’s lifetime, this can avoid several tons of CO2 emissions.
Increase Home Value
Homes with EV chargers are becoming more attractive to buyers, especially in urban and suburban areas. A study by Realtor.com found that EV charger installations can increase home resale value by 1-3%.
Example: Real-life Installation Story
Let’s look at a typical scenario.
Sarah owns a 2023 Nissan Leaf and drives about 40 miles daily. She lives in a single-family house with a garage. Her main panel is 100A and almost full, so her electrician recommends a 32A, 240V charger.
- Charger cost: $450
- Installation (new breaker, short cable run): $600
- Permit: $100
- Rebate from local utility: $300
Her total out-of-pocket cost is $850. The installation takes half a day, and after inspection, Sarah enjoys fast, reliable home charging for years.
Non-obvious insight: Sarah later adds solar panels to her roof, reducing her charging costs to almost zero during sunny months.
Comparing Charging At Home Vs Public Stations
Here’s a side-by-side look:
| Feature | Home Charging | Public Charging |
|---|---|---|
| Convenience | Plug in anytime | Depends on location, may need to wait |
| Cost | Lower (average $0.13/kWh) | Higher ($0.30-$0.50/kWh) |
| Charging Speed | Level 2: 20-30 miles/hour | DC Fast: 100+ miles in 30 min |
| Maintenance | Owner’s responsibility | Operator’s responsibility |
| Battery Health | Gentler on battery | Frequent fast charging can reduce battery life |
Maintenance Tips For Long-term Use
A home charging station is a long-term investment. Proper care ensures safety and reliability.
- Inspect the cable and plug for wear or damage monthly.
- Keep the charger dry—if installed outdoors, regularly check the weather seal.
- Update firmware if your charger is smart-enabled. New updates can fix bugs or add features.
- Clean the unit with a soft, dry cloth. Avoid harsh chemicals.
Extra tip: Keep a small logbook of any issues or maintenance. This helps if you need to make a warranty claim.
Credit: evmatch.com
Upgrading Or Moving Your Charger
If you move to a new house or upgrade your car, you may want to move or replace your charger.
- Unplug or disconnect the charger before moving.
- Check if your new home’s electrical system is ready for installation.
- If upgrading, make sure your new EV supports higher charging rates.
Note: Some chargers are “hardwired” (permanently connected), while others use a plug. Plug-in models are easier to move.
Government Incentives And Rebates
Don’t pay full price if you don’t have to. Many places offer financial help for home charging stations.
- Federal tax credits: Up to 30% of installation cost (in some countries, check your local rules).
- State and local incentives: Some states or cities offer extra rebates, sometimes up to $1,000 or more.
- Utility company programs: Many utilities offer rebates, free chargers, or discounted electricity rates for EV owners.
Check U.S. Department of Energy’s database for current incentives in your area.
Credit: www.prairielectric.com
Frequently Asked Questions
How Long Does It Take To Install A Home Ev Charger?
Most installations take 2 to 4 hours if your electrical system is ready. Complicated jobs (like panel upgrades or long cable runs) can take a full day or more. Always allow extra time for permit approvals and inspections.
Can I Install A Level 2 Charger Myself?
If you are a licensed electrician or very experienced with home wiring, you might do a DIY install. For most people, it is safer and required by law to hire a professional. Incorrect installation can be dangerous and may void warranties.
Will A Home Charger Work With All Evs?
Most Level 2 chargers use the J1772 standard plug, which works with nearly all EVs sold in North America. Tesla cars need an adapter, which is usually included with the car.
What If I Rent My Home?
If you rent, you’ll need the landlord’s permission to install a charger. Some landlords are supportive, especially if you offer to pay for removal when you move out. There are also portable EV chargers that use existing outlets, though they are slower.
Do I Need To Upgrade My Home’s Electrical Panel?
If your panel does not have enough capacity or free breaker slots, you may need an upgrade. Your electrician can evaluate this during the site assessment. Modern homes (built after 2000) are usually fine, but older homes may need upgrades.
Setting up an EV home charging station is one of the best ways to enjoy your electric car to the fullest. With careful planning, the right equipment, and professional installation, you’ll enjoy fast, safe, and convenient charging for years. Taking these steps also adds value to your home and helps you save money while supporting a cleaner environment.
The future of driving is electric—and it starts right in your garage.