Using a nail gun for the first time can feel a bit intimidating. The power, speed, and efficiency are impressive, but they also demand respect. If you’re new to carpentry or home improvement, a nail gun can save you hours of work.
But before you get started, it’s vital to learn how to use it safely and correctly. In this guide, you’ll learn everything you need to confidently use a nail gun—from choosing the right model to mastering best practices, troubleshooting problems, and caring for your tool.
Whether you’re building furniture, fixing a fence, or installing trim, you’ll find practical advice and pro tips that help you avoid mistakes and get great results.
Understanding Nail Guns
Nail guns are powerful tools that drive nails quickly and accurately into wood, metal, or other materials. There are several types, each designed for specific tasks. Understanding these differences helps you pick the best nail gun for your project and avoid wasting money on the wrong tool.
Types Of Nail Guns
- Framing Nailers: Used for heavy construction like house framing, deck building, or fence posts. They handle large nails (usually 2-3½ inches).
- Finish Nailers: Ideal for molding, trim, cabinetry, and furniture. They use smaller nails (15 to 16 gauge).
- Brad Nailers: Perfect for delicate woodwork, small trim, or crafts. They use very thin nails (18 gauge).
- Pin Nailers: Used for tiny, nearly invisible nails in precision work, like making picture frames.
- Roofing Nailers: Designed for roofing shingles, these guns use specialized nails with wide heads.
- Staple Guns: Not true nail guns, but similar. They drive staples instead of nails, often used for upholstery or attaching thin materials.
Power Sources
Nail guns are powered in several ways:
- Pneumatic: Use compressed air. They’re powerful, reliable, and common on job sites but need an air compressor.
- Cordless (Battery-Powered): Convenient for mobility. Newer models have enough power for most jobs but are heavier due to the battery.
- Electric (Corded): Plug into the wall. These are less common and usually less powerful than pneumatic types.
- Gas-Powered: Use small fuel cells and batteries. They’re portable and strong but more expensive to operate.
Key Parts Of A Nail Gun
Knowing the parts helps you use and maintain your tool:
- Magazine: Holds the nails.
- Trigger: Fires the nail.
- Nosepiece: Where the nail exits.
- Safety Tip: Must be pressed against the surface to fire.
- Depth Adjustment: Controls how deep the nail goes.
- Exhaust Vent: Directs air away from the user (for pneumatic models).
Choosing The Right Nail Gun For Your Project
A common mistake is buying a nail gun that’s too powerful or too weak for your needs. Here’s how to decide:
Match The Tool To The Task
- Framing: Use a framing nailer for building walls, decks, or framing houses.
- Trim and Molding: Finish or brad nailers are best for baseboards, crown molding, and cabinets.
- Furniture or Crafts: Brad or pin nailers prevent splitting delicate wood.
- Roofing: Only a roofing nailer can handle shingles or roof materials.
Consider The Power Source
If you already own an air compressor, a pneumatic gun makes sense. If you need portability (like working outside or moving around a lot), cordless is best. For occasional DIY, a corded electric can be enough.
Nail Size And Magazine Capacity
Different jobs require different nail lengths and gauges. Make sure your nail gun supports the range you need. Also, a larger magazine means fewer reloads.
Weight And Comfort
A heavy nail gun can tire you quickly, especially overhead. Try holding different models before buying.
Here’s a quick comparison of common nail gun types and uses:
| Type | Best Use | Nail Size | Power Source |
|---|---|---|---|
| Framing Nailer | House framing, decks | 2-3.5 in | Pneumatic, Cordless |
| Finish Nailer | Trim, baseboards, cabinets | 1-2.5 in (15-16 ga) | Pneumatic, Cordless |
| Brad Nailer | Crafts, light trim | 0.5-2 in (18 ga) | Pneumatic, Cordless |
| Pin Nailer | Delicate work, small molding | 0.5-1.5 in (23 ga) | Pneumatic |
| Roofing Nailer | Roof shingles | 1-2 in (roofing nails) | Pneumatic |

Credit: www.youtube.com
Nail Gun Safety: Essential Precautions
A nail gun can drive a nail over 1,000 feet per second. That’s faster than some handguns. Accidents happen quickly, often to beginners. Always follow these safety tips:
Wear The Right Gear
- Safety glasses: Protect your eyes from flying nails or wood chips.
- Hearing protection: Nail guns are loud—especially in enclosed spaces.
- Gloves: Reduce the risk of cuts or scrapes.
Inspect The Tool Before Use
Check for damaged parts, loose screws, or air leaks. Never use a nail gun that looks broken.
Learn The Trigger System
There are two main types:
- Contact (bump) trigger: Fires when you press the nose and pull the trigger—fast, but riskier for beginners.
- Sequential trigger: Requires you to press the nose first, then pull the trigger—safer for new users.
Most safety experts recommend starting with a sequential trigger.
Never Point At People
Even if it’s unplugged or empty, never aim a nail gun at yourself or anyone else.
Handle With Care
- Disconnect the air hose or battery when not in use.
- Keep fingers away from the nosepiece.
- Don’t carry the gun by the hose or cord.
Secure Your Workpiece
Use clamps or hold your work firmly so it doesn’t move while you nail.
Watch For Ricochets
Nails can bounce off hard surfaces or hit knots in wood. Always check your material and work angle.
Avoid Triggering Accidents
Don’t walk with your finger on the trigger. Be careful when moving up ladders or scaffolding.
Be Aware Of Your Surroundings
Check for electrical wires, plumbing, or other hazards behind what you’re nailing.
Setting Up Your Nail Gun
Before you start driving nails, you need to set up your tool the right way. This avoids jams, damage, and unsafe situations.
Read The Manual
Each nail gun is different. Read the manufacturer’s instructions, even if you’ve used other models before.
Connect To Power
- Pneumatic: Attach the air hose to your compressor. Set the pressure according to the nail gun’s requirements (usually 70–120 PSI).
- Cordless: Make sure the battery is charged and securely attached.
- Electric: Plug into a grounded outlet.
Load The Nails
- Open the magazine latch.
- Insert the correct nails—make sure they’re straight and facing the right way.
- Close the magazine until it clicks.
Adjust The Depth
Set the depth adjustment so the nail is flush with the surface, not sticking out or sunk too deep. Test on scrap wood first.
Check The Safety Mechanisms
Test the safety tip and trigger (without nails loaded) to make sure both work as intended.

Credit: www.wikihow.com
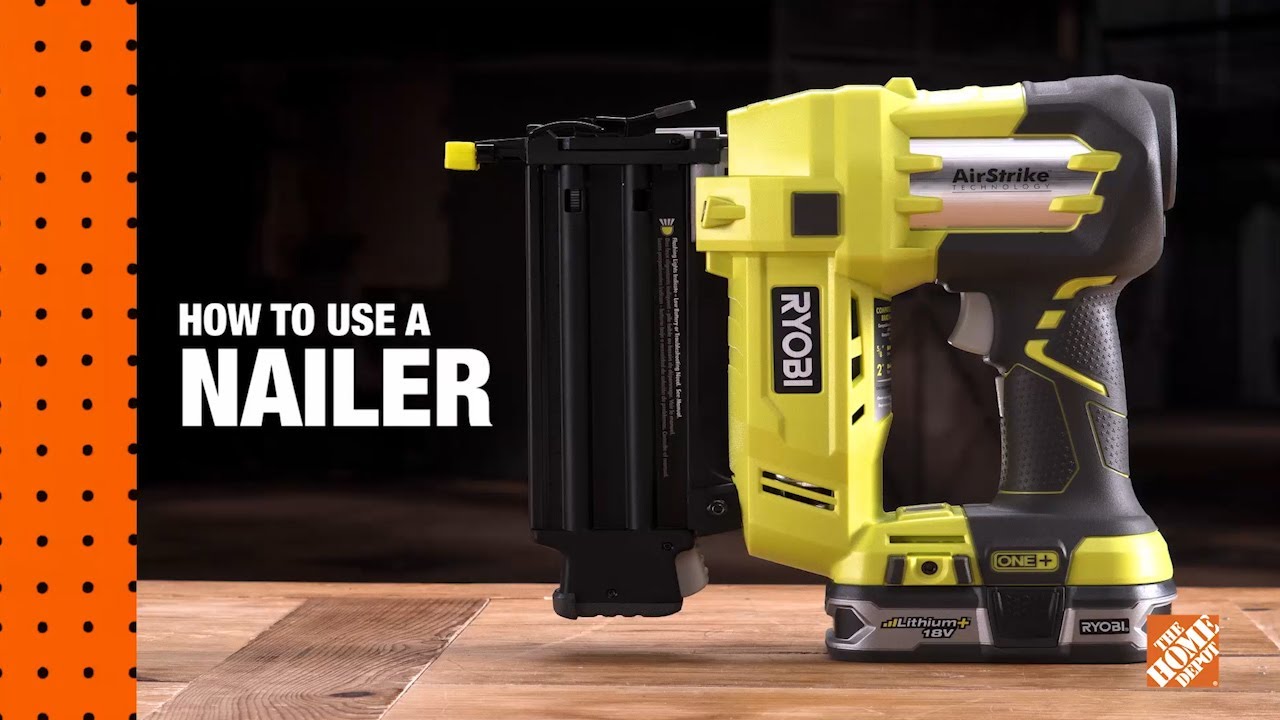
How To Use A Nail Gun: Step-by-step
Now you’re ready to start nailing. Here’s how to use a nail gun, step by step.
1. Prepare Your Workspace
Clear away clutter, and set up your materials. Make sure you have enough space to move the nail gun safely.
2. Hold The Nail Gun Correctly
Grip the handle firmly with your dominant hand. Use your other hand to steady the workpiece—never to support the nose of the tool.
3. Position The Tool
Place the safety tip flat against the surface where you want the nail. Hold it at a 90-degree angle for most tasks, unless you need to angle the nail for extra holding power.
4. Fire The Nail
- For sequential triggers: Press the tip against the work surface, then squeeze the trigger.
- For contact (bump) triggers: Hold the trigger, then press the tip to the surface to fire.
Release and reposition for the next nail.
5. Check Your Work
After every few nails, make sure they’re flush and properly placed. Adjust depth if needed.
6. Move Carefully
If you need to reposition, release the trigger and lift the nail gun. Never drag it by the hose or cord.
7. Reload When Needed
If the gun stops firing, check if the magazine is empty. Reload as needed.
8. Disconnect When Finished
Turn off the compressor, remove the battery, or unplug the tool when you’re done.
Advanced Techniques And Pro Tips
Once you’re comfortable, you can use some advanced tips to make your nailing more efficient and professional.
Angled Nailing
For stronger joints, drive nails at a slight angle (called “toe nailing”). This is common in framing and gives extra holding power.
Using Nail Patterns
Don’t put all your nails in a straight line. Stagger them for better grip and to reduce wood splitting.
Countersinking
If you want to hide nails, adjust the depth so the nail head is just below the surface. You can fill the hole with wood putty for a smooth look.
Preventing Splitting
On thin or delicate wood, use smaller gauge nails and avoid nailing too close to the edge. If splitting is a risk, drill a tiny pilot hole first.
Working Overhead Or Vertically
Support the nail gun securely and take breaks if your arm gets tired. Use lighter models for overhead work.
Managing Air Pressure
Too much air pressure can drive nails through the material; too little can leave them sticking out. Adjust the compressor and test before starting the job.
Credit: www.youtube.com
Common Mistakes And How To Avoid Them
Even experienced users make mistakes. Here are some to watch for:
- Wrong Nail Size: Using nails that are too long can split wood; too short and they won’t hold.
- Incorrect Angle: Not holding the gun straight can cause nails to bend or miss the mark.
- Overdriving Nails: Setting the depth too deep can damage your work or make it hard to remove nails later.
- Not Checking for Jams: Keep an eye out for jams—forcing the trigger can damage the gun.
- Ignoring Safety: Skipping goggles or gloves leads to preventable injuries.
- Misfiring: Firing before the gun is flat on the surface can send nails flying or cause jams.
- Skipping Test Shots: Always test on scrap wood first to check depth and placement.
Troubleshooting Nail Gun Problems
Even with proper setup, problems can happen. Here’s how to solve the most common issues.
Nail Jams
The most frequent issue. Stop and disconnect the tool. Open the magazine, remove the jammed nail with pliers, and reload. Clean out any debris.
Misfires Or Double Fires
- Check if nails are loaded correctly.
- Make sure you’re not bumping the trigger or nosepiece too quickly.
- If using a bump trigger, slow down your rhythm.
Incomplete Firing
If nails don’t fully sink:
- Increase air pressure slightly.
- Check if the battery is charged (for cordless models).
- Clean the nosepiece—built-up dirt can block the mechanism.
Air Leaks
Hissing sounds mean a loose connection or damaged seal. Tighten fittings or replace O-rings as needed.
Nails Not Advancing
If nails aren’t feeding, check for bent nails or dirt in the magazine. Clean and reload.
Maintenance And Storage
Proper care extends the life of your nail gun and keeps it working smoothly.
Clean Regularly
Wipe down after each use to remove dust and debris. Compressed air helps clear tight spots.
Lubricate Moving Parts
Pneumatic nail guns need a few drops of air tool oil in the air inlet before each use. Electric and cordless models usually don’t need oil.
Inspect For Wear
Check hoses, seals, and moving parts for signs of wear or damage. Replace worn parts early.
Store Safely
Keep your nail gun in a dry, secure case. Remove air hoses, batteries, or fuel cells when storing.
Sharpen Your Skills
Practice on scrap material before each new project. This builds confidence and helps you spot issues early.
Here’s a summary comparison of maintenance steps for pneumatic vs. cordless nail guns:
| Maintenance Task | Pneumatic | Cordless |
|---|---|---|
| Lubrication | Required (air tool oil) | Usually not needed |
| Battery care | Not applicable | Charge & store properly |
| Check seals/hoses | Yes | N/A |
| Clean magazine | Yes | Yes |
Real-world Examples: When A Nail Gun Saves The Day
Sometimes, using a hammer just isn’t practical. Here are a few situations where a nail gun makes a big difference:
- Building a Deck: Driving hundreds of nails by hand can take days and leave you sore. A framing nailer finishes the job in hours.
- Installing Crown Molding: A finish nailer lets you work overhead and drive nails cleanly into delicate trim, avoiding hammer marks.
- Repairing Fencing: Cordless nail guns let you move along a fence line quickly without dragging a compressor or extension cords.
- Making Cabinets or Shelves: Brad or pin nailers hold small pieces together so glue can set, improving accuracy and speed.
Non-obvious Insights Beginners Often Miss
- Trigger Fatigue: If you use a contact (bump) trigger for hours, your hand can get tired and less precise. Switching to a sequential trigger or taking frequent breaks improves both safety and accuracy.
- Nail Compatibility: Not all nails fit all guns—even if they look the same. Using the wrong brand or type can cause jams or poor performance. Always check compatibility before buying nails in bulk.
Environmental And Cost Factors
Using a nail gun is not just about speed. It can save money and reduce waste:
- Fewer Bent Nails: Nail guns drive nails straight, so you waste fewer nails than with a hammer.
- Efficient Use of Materials: Less damage to wood means fewer repairs or replacements.
- Battery vs. Air Compressor: Cordless models cost more upfront, but save you from buying and maintaining an air compressor.
Here’s a simple cost comparison for the average homeowner:
| Type | Average Tool Cost | Ongoing Costs | Best For |
|---|---|---|---|
| Pneumatic | $100-$250 (plus compressor) | Air tool oil, maintenance | Frequent, heavy-duty use |
| Cordless | $200-$450 | Battery replacement | Mobility, lighter tasks |
| Electric | $80-$200 | Minimal | Light, occasional use |
Top Safety Statistics
According to the Centers for Disease Control and Prevention, more than 37,000 people in the U. S. visit emergency rooms each year due to nail gun injuries. Most are preventable by wearing the right safety gear and using the tool correctly.
Always put safety first—no project is worth risking your health.
If you want to explore more about tool safety and regulations, you can visit the OSHA Nail Gun Safety guidelines.
Frequently Asked Questions
What Size Compressor Do I Need For A Pneumatic Nail Gun?
Most framing or finish nailers need a compressor that delivers at least 2–4 cubic feet per minute (CFM) at 90 PSI. Always check your nail gun’s manual, as some larger guns need more air. A small portable compressor is enough for light jobs, but big projects may require a larger tank.
Can I Use Any Brand Of Nails With My Nail Gun?
No, not all nails are universal. Each nail gun is designed for specific nail types, sizes, and angles. Using the wrong nails can cause jams, misfires, or damage. Always buy nails recommended by your tool’s manufacturer, and double-check packaging for compatibility.
Why Are My Nails Not Sinking Fully Into The Wood?
This usually means low air pressure (for pneumatic models), a weak battery (for cordless models), or the depth adjustment is set too shallow. Check each of these and test on scrap wood before continuing your project.
Is A Nail Gun Safer Than A Hammer?
A nail gun is faster and can be safer if used correctly, but it can also cause more serious injuries if misused. Always follow safety guidelines, wear protective gear, and use a sequential trigger if you’re new to nail guns.
How Do I Prevent Wood From Splitting When Using A Nail Gun?
Use the smallest suitable nail, avoid nailing too close to the edge, and stagger nails instead of putting them in a straight line. For very delicate wood, drill a small pilot hole before nailing.
Using a nail gun can transform how you work on construction and DIY projects. When you understand your tool, follow safety rules, and practice good technique, you’ll get professional results—faster and with less effort. Start slow, build your confidence, and soon you’ll wonder how you ever worked without one.