Hammering fence posts might look simple, but doing it right makes your fence last longer and stand straight. Many homeowners try putting up a fence themselves. Some succeed, but others struggle with leaning posts or posts that loosen after a few months.
If you want your fence to stay strong for years, you need more than just muscle—you need the right knowledge, tools, and a few practical tricks. This guide will walk you through every step of hammering fence posts, from planning and tools to fixing common mistakes.
Even if you’ve never used a post driver before, you’ll finish with confidence.
Why Good Fence Posts Matter
Fence posts are the backbone of any fence. They hold everything in place—pickets, wires, or panels. If your posts are not set properly, the whole fence will likely sag, lean, or even fall. A well-hammered post resists wind, rain, and time.
It also keeps animals in (or out), marks property lines, and adds value to your home. Most importantly, a strong post means you won’t have to redo your hard work next year.
Homeowners often underestimate how much work goes into setting posts. In fact, about 70% of fence failures happen because of poor post installation. Spending a little more time on this step saves you money and frustration in the long run.
Choosing The Right Fence Posts
Not all posts are equal. Picking the right type and material is your first smart move.
Types Of Fence Posts
- Wooden Posts: Traditional, easy to cut, and cost-effective. Look for treated lumber to resist rot and insects.
- Steel Posts: Strong, durable, and often used for wire fences. They won’t rot and are easy to drive into the ground.
- Vinyl Posts: Maintenance-free and attractive, but require precise installation. Usually need pre-dug holes instead of being hammered.
- Composite Posts: Made from recycled materials, these combine wood and plastic. They’re durable but more expensive.
Comparing Fence Post Materials
Below is a quick comparison of common fence post materials:
| Material | Durability | Cost | Maintenance | Ease of Installation |
|---|---|---|---|---|
| Wood | Moderate | Low | Medium | Easy |
| Steel | High | Medium | Low | Easy |
| Vinyl | High | High | Very Low | Medium |
| Composite | Very High | Very High | Very Low | Medium |
For most hammering jobs, wood and steel posts are your best options. Vinyl and composite posts usually need special brackets or pre-set holes.
Post Size And Height
The post’s size depends on your fence type and local weather. For a standard 4-foot-tall fence, most people use:
- Wooden post: 4×4 inches, at least 6–8 feet long
- Steel T-post: At least 6–7 feet long
Remember, at least 1/3 of the post should be underground for stability. If you live in an area with frost, go even deeper to prevent heaving.
Gathering The Right Tools And Materials
Before you start, gather everything you need. Missing tools slow you down and can lead to mistakes.
Essential Tools
- Post driver: For steel or metal posts. Safer and easier than using a sledgehammer.
- Sledgehammer or maul: For wooden posts. Choose a 6–10 lb head for best results.
- Level: To check vertical alignment.
- Tape measure: For spacing posts.
- Marking paint or string line: To keep posts in a straight line.
- Shovel or post hole digger: In case the ground is too hard.
- Work gloves and safety glasses: Prevent injuries.
- Scrap wood block: Protects the top of wooden posts from splitting.
- Water: To soften dry ground if needed.
Optional Tools
- Auger or power post driver: Speeds up installation for large jobs.
- Wheelbarrow: To carry posts or tools.
- Concrete mix: For extra strength in loose soil.
Quick Tool Comparison
| Tool | Best For | Pros | Cons |
|---|---|---|---|
| Manual Post Driver | Steel posts | Safe, efficient | Heavy, tiring for many posts |
| Sledgehammer | Wooden posts | Cheap, versatile | Splits wood if used carelessly |
| Power Driver | Large projects | Fast, less effort | Expensive, heavy |
Planning Your Fence Line
Start with a plan. Good planning means your fence will look straight and fit your property.
Marking The Line
- Identify boundaries. Use a property survey if you have one. Don’t guess—mistakes can cause disputes.
- Mark the corners. Drive stakes at each corner.
- Run a string line. Tie string tightly between corner stakes. This keeps all posts aligned.
- Mark post spots. Use spray paint or small stakes to show where each post will go.
Spacing Posts Correctly
The most common spacing is 6–8 feet between posts for wood fences. For wire or mesh fences, you can go up to 10 feet. Always check your fence panel or wire length before marking. Tight, even spacing prevents sagging and makes your fence look neat.
Avoiding Obstacles
Before you dig or hammer, check for:
- Underground utilities (call 811 in the US)
- Large roots or rocks
- Slopes or uneven ground
Adjust post locations if needed, but keep the line as straight as possible.

Credit: www.amazon.com
Preparing The Ground
Not all soil is the same. Your post’s strength depends on how well it’s anchored.
Testing Soil Conditions
Push a metal rod or screwdriver into the ground. If it goes in easily, your soil is soft. If it’s hard, rocky, or clay, you might need to dig a starter hole with a shovel or post hole digger.
Wet Or Dry Soil
- Dry soil: Pour water on the spot and wait 10–15 minutes. This softens the ground and makes hammering easier.
- Wet soil: Be careful—posts may loosen if the soil is too soggy. Wait for it to dry slightly.
Removing Obstacles
Clear away grass, roots, and rocks. A clean spot helps the post go in straight and deep.
How To Hammer Fence Posts: Step-by-step
You have your tools, your line is marked, and the ground is ready. Now comes the main job.
1. Position The Post
Stand the post upright where you marked. For a straight fence, the post should touch your string line.
Non-obvious tip: If you’re working alone, brace the post with a shovel or a friend so it doesn’t move while you start hammering.
2. Protect The Post Top
For wooden posts, place a scrap wood block on top. This stops the sledgehammer from splitting the post. For steel posts, use a manual post driver—it has a closed top that protects the post.
3. Start Hammering
- For wooden posts, swing the sledgehammer evenly. Start with gentle taps to set the post, then use full force.
- For steel posts, lift the post driver, slide it over the post, and drop it with force. Repeat until the post is deep enough.
Non-obvious insight: Rotate the post a quarter-turn every few hits. This helps the post seat evenly and avoids bending.
4. Check Alignment Often
After every 6–8 inches driven, use your level to check the post’s vertical alignment (plumb). Adjust as needed before going deeper. It’s much harder to fix a crooked post later.
5. Depth And Final Check
Aim for at least 2 feet of the post underground (deeper if your fence is tall or your area gets frost). For heavy fences, go 2.5–3 feet deep. The post should feel solid and not wobble.
If the post is too hard to drive further, stop and check for obstacles. Sometimes large rocks or roots stop progress—dig out or move the post slightly.
Step-by-step Summary
- Place post in marked spot
- Protect top (wood block or post driver)
- Start hammering gently, then harder
- Rotate post slightly after several hits
- Check level and alignment often
- Drive to correct depth
- Confirm the post is stable
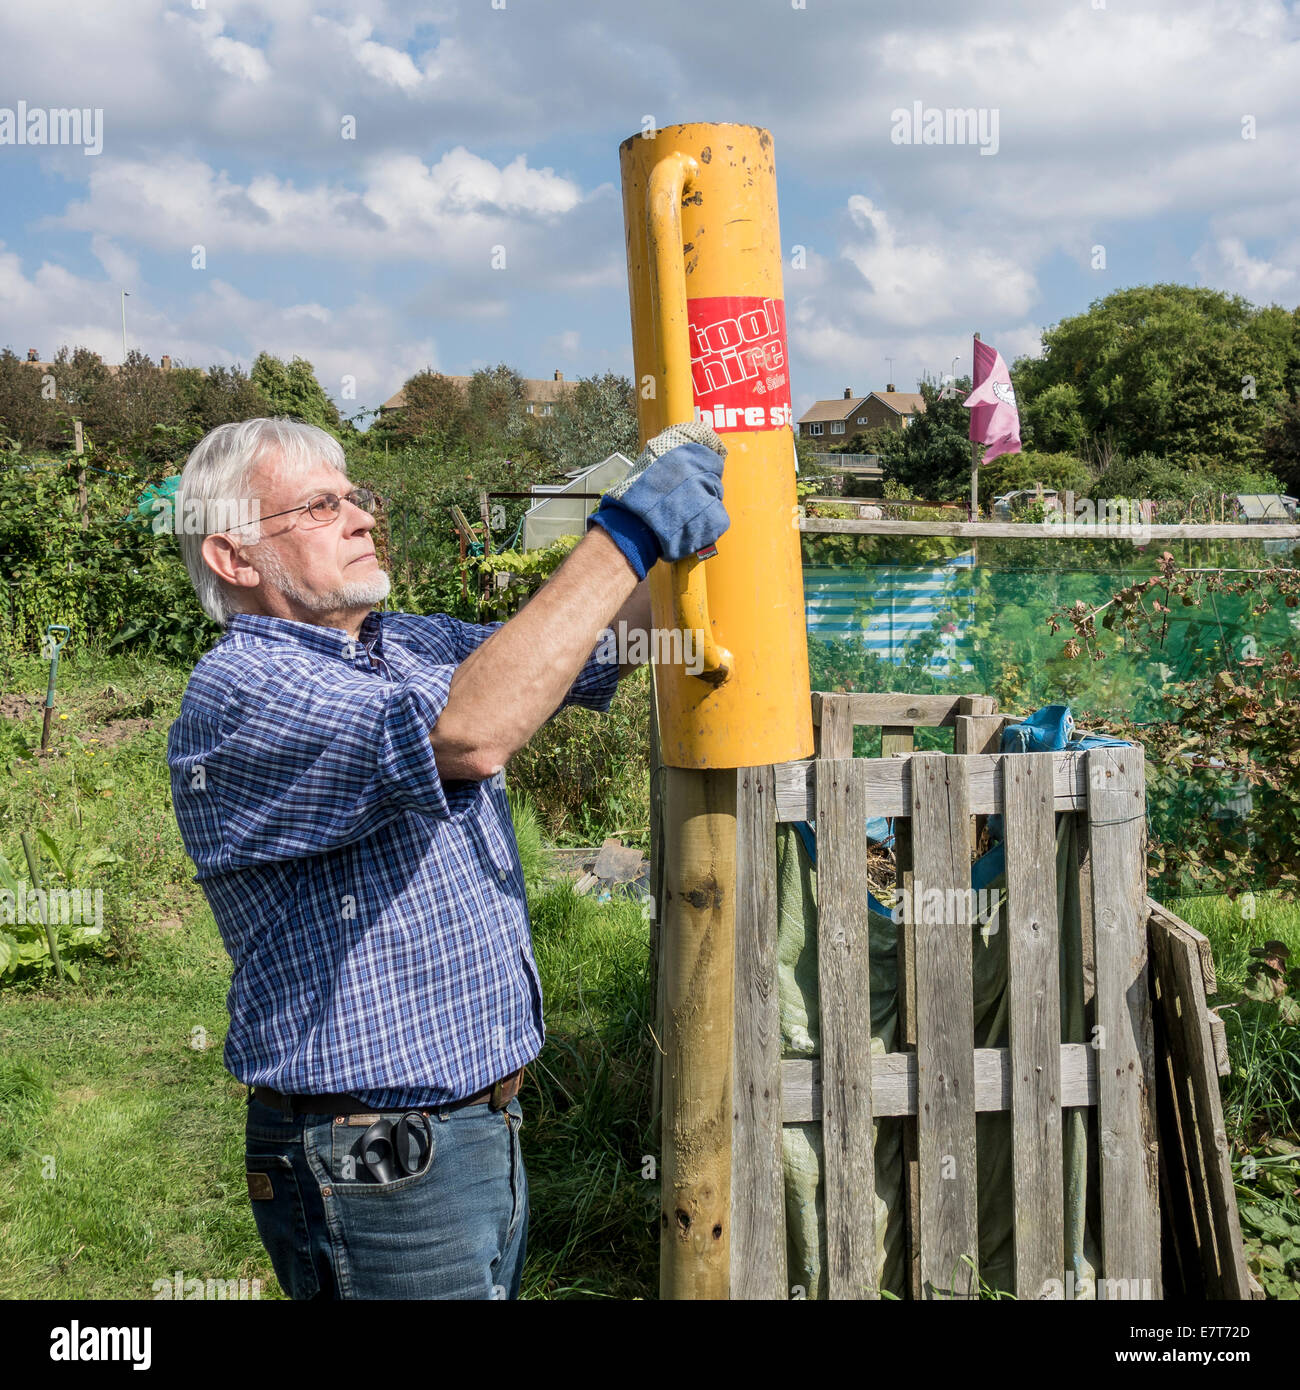
Credit: www.alamy.com
Tips For Different Post Types
Wooden Posts
- Use only pressure-treated wood. Untreated wood rots quickly.
- Taper the bottom end with a saw for easier driving.
- Paint the bottom with tar or bitumen for extra rot resistance.
Steel Posts
- Use a manual post driver—it’s faster and safer than a hammer.
- If posts have spade plates, face them in the fence line direction for best strength.
- For soft soil, drive posts deeper.
Rocky Or Clay Soils
- Dig a starter hole 6–12 inches deep before hammering.
- In rocky ground, use a steel digging bar to break up rocks.
- In clay, moisten the soil a day before for easier driving.
Securing Fence Posts In Loose Soil
If your soil is sandy, very loose, or wet, posts can wobble even if hammered deep. Here are ways to secure them:
- Add gravel around the base while hammering. It packs tight and drains water away.
- Use concrete only if needed (for gates or corners). Too much concrete can trap water and cause wood rot.
- For steel posts, tamp soil back in tightly as you drive.
- For very loose soil, consider longer posts to reach firmer ground.

Credit: www.homedepot.com
Common Mistakes And How To Avoid Them
Even experienced DIYers make mistakes. Here’s how to avoid the most common ones:
Mistake 1: Not Checking For Utilities
Never start hammering without checking for underground cables or pipes. Striking one can be dangerous and expensive.
Mistake 2: Crooked Posts
If you skip the level check, posts may lean. Use a level on two sides, and check both directions as you drive.
Mistake 3: Driving Too Shallow
A post less than 2 feet deep is likely to wobble or lean, especially in windy areas.
Mistake 4: Damaging Post Tops
Hitting the post directly with a hammer can split wood or deform metal. Always use a block or the right driver.
Mistake 5: Ignoring Soil Conditions
Driving posts into waterlogged or very soft soil without extra support leads to leaning and failure. Improve drainage or use gravel.
Finishing Touches: Making Your Fence Last
Once all posts are in, do a final check:
- Make sure all posts are aligned with the string line.
- Re-pack soil around each post firmly.
- For wood posts, apply wood preservative to any exposed cuts.
If you want to add rails, panels, or wire, wait at least a day for the posts to settle. This reduces sagging and keeps everything tight.
Advanced Tips For Tough Conditions
Some jobs need a little extra know-how. Here’s what to do in tricky situations:
Sloped Ground
On hills, keep the post vertical (plumb), not perpendicular to the slope. Use a batter board to get the right line.
Frozen Ground
If you must hammer posts in winter, pour hot water on the ground first, then use a digging bar to break the ice.
Close To Trees
Roots make hammering hard. Move the post slightly if possible. If not, dig through roots, but try not to damage the tree more than necessary.
Safety Tips
Hammering fence posts is hard work. Take care to avoid injuries:
- Wear gloves to prevent blisters and safety glasses to protect from flying chips.
- Use correct lifting technique; a post driver is heavy.
- Take breaks to avoid fatigue—tired workers make mistakes.
- Never work alone in remote areas.
When To Use Concrete
Concrete isn’t always necessary. Here’s when you should use it:
- Gate posts: These hold extra weight and force.
- Corner posts: They take more tension from fence wires.
- Very loose soil: If posts won’t stay solid, concrete helps.
For all other posts, well-packed soil or gravel usually works best. Too much concrete can actually trap water and cause wood rot.
Calculating How Many Posts You Need
Measure your fence line. Divide by your planned post spacing (usually 6–8 feet). Add extra for corners and gates.
Example: For a 100-foot fence, spacing posts every 8 feet:
- 100 ÷ 8 = 12.5. Round up, so you need 13 posts.
- Add 2 for corners = 15 total.
Always buy a few extra posts in case of mistakes or changes.
How Weather Affects Fence Posts
Climate changes how deep and how strong your posts need to be.
- Frost areas: Go below the frost line (often 3–4 feet).
- High wind: Use thicker posts and closer spacing.
- Heavy rain: Choose rot-resistant posts and add gravel for drainage.
Mistakes Beginners Usually Miss
Most beginners focus only on hammering posts deep. They forget:
- Alignment with string line: Even a small curve looks bad from a distance.
- Checking level in two directions: A post can be straight front-to-back but lean side-to-side.
Another common error is not rotating the post as you drive, which leads to uneven settling and can twist the fence line.
Cost And Time Estimates
For a 100-foot fence with 6-foot spacing, expect to spend:
- Posts: $7–$20 each, depending on material.
- Tools: $40 for a manual post driver (rent or buy), $30 for a sledgehammer.
- Time: 2–4 hours for one person, including marking and hammering.
Large projects go faster with extra hands or power tools.
Sample Project Timeline
If you’re planning your own fence, here’s a sample schedule:
| Task | Estimated Time (per 100 ft) |
|---|---|
| Marking and measuring | 1 hour |
| Gathering tools & posts | 30 minutes |
| Hammering posts | 2–3 hours |
| Final check & clean up | 30 minutes |
Real-life Example
A homeowner in Kansas installed a 200-foot wire fence for goats. He used steel T-posts with a manual driver. By spacing posts 10 feet apart and driving them 2. 5 feet deep, the fence survived windstorms up to 60 mph.
His secret? He checked each post’s level and alignment after every 8 inches. He finished the whole fence in one weekend with one helper.
Where To Learn More
For more detailed fence building resources, visit the US Forest Service Fence Construction Guide.
Frequently Asked Questions
How Deep Should Fence Posts Be Hammered?
For most fences, posts should be at least 2 feet underground. In areas with frost, go deeper—below the frost line. For tall or heavy fences, 2.5–3 feet is best.
Can I Hammer Posts Into Rocky Ground?
Yes, but it’s harder. Dig a starter hole first, use a digging bar to break rocks, and pour water to soften clay. Sometimes you must move the post a few inches to avoid big rocks.
Should I Use Concrete For All Posts?
No. Use concrete only for gates, corners, or very loose soil. For most posts, well-packed soil or gravel works better and allows drainage.
How Do I Keep Posts Straight And In Line?
Use a string line between corner stakes and check each post with a level as you hammer. Don’t skip this step—small errors add up over a long fence.
What Is The Best Tool For Hammering Fence Posts?
For steel posts, a manual post driver is safest and fastest. For wooden posts, use a sledgehammer with a wood block to avoid splitting. For large jobs, consider renting a power post driver.
—
Hammering fence posts is hard work, but with the right tools, planning, and a few expert tricks, you can build a fence that stands straight and strong for years. Take your time, check your alignment, and don’t be afraid to adjust as you go.
The effort you invest now means less repair and more satisfaction down the line.