Crimping wire connectors may sound like a simple task, but doing it right makes a huge difference in safety, reliability, and durability of electrical connections. Whether you’re working on a car, home wiring, or electronics, the way you crimp wires can affect the entire system.
Many beginners overlook the details, leading to weak connections that can fail, cause heat buildup, or even start fires. This guide will walk you through every aspect of crimping wire connectors, step by step, from tool selection to troubleshooting, so you get a reliable result every time.
What Is Crimping And Why Does It Matter?
Crimping is the process of joining a wire to a connector by deforming one or both to hold them together mechanically. Unlike soldering, crimping doesn’t use heat or extra materials. Instead, you use a special tool to squeeze the connector tightly around the wire.
A good crimp has several advantages:
- Mechanical strength: The wire and connector become one solid piece.
- Electrical conductivity: A tight crimp ensures current flows with little resistance.
- Vibration resistance: Crimped connections stand up to movement and shaking, which is important in vehicles or machines.
A poor crimp can cause loose connections, voltage drops, or overheating. In fact, studies show that up to 40% of electrical failures in vehicles are caused by poorly crimped connectors.
Types Of Wire Connectors
There are many types of wire connectors, each for specific uses. Choosing the right one is key to a safe and strong connection.
1. Butt Connectors
Butt connectors join two wires end-to-end. You insert wires from each side and crimp the middle. They’re common in automotive and appliance wiring.
2. Ring Terminals
Ring terminals have a metal ring that fits around a screw or stud. They’re often used in grounding and where a solid, fixed connection is needed.
3. Spade (fork) Terminals
Spade terminals have a forked end, making them easy to slip under screws without fully removing the fastener. They’re popular in control panels and switches.
4. Quick Disconnects
Quick disconnects (male and female) let you connect or disconnect wires quickly, useful in electronics and appliances.
5. Bullet Connectors
Bullet connectors are round and snap together, often used in automotive wiring for easy repairs or replacements.
6. Ferrules
Ferrules are metal sleeves that fit over wire strands, used with screw terminals to prevent fraying.
7. Heat Shrink Connectors
Heat shrink connectors have a plastic sleeve that shrinks with heat, sealing out moisture and improving insulation.
Choosing the right connector depends on wire type, application, and environment. For outdoor or automotive uses, insulated or heat-shrink connectors are best, while ferrules are great for control panels with screw terminals.
Tools And Materials Needed
To crimp wire connectors properly, you need the right tools and materials. Here’s what you should have:
- Wire strippers: To remove insulation without damaging the wire strands.
- Crimping tool: A dedicated tool designed for your connector type.
- Connectors: Choose the correct size and style for your wires.
- Heat gun or lighter (for heat-shrink connectors).
- Multimeter: To test the connection afterward.
- Cable cutter: For trimming wires to the right length.
- Safety glasses: To protect your eyes from wire bits.
Using the wrong tool or a cheap crimper is one of the most common mistakes. Universal pliers or makeshift tools can crush the connector or misshape it, causing weak crimps.
Comparison: Professional Crimping Tool Vs. Cheap Alternatives
Below is a comparison of professional crimping tools and cheaper alternatives.
| Feature | Professional Crimper | Cheap Pliers/Tool |
|---|---|---|
| Crimp Quality | Consistent, strong crimps | Often uneven and weak |
| Ease of Use | Comfortable, ergonomic | Can cause hand fatigue |
| Durability | Lasts for years | Wears out quickly |
| Price | Higher upfront cost | Lower initial cost |
Tip: Investing in a good crimping tool saves time and frustration, especially if you do a lot of wiring.
How To Select The Right Connector And Tool
Before you start, match your wire and connector size. Connectors are sized by the wire gauge (AWG) they fit. Using the wrong size is a common beginner mistake.
Step 1: Check Wire Gauge
Look at the wire insulation for printed numbers like “16 AWG” or use a wire gauge tool. Match this to the connector’s range (usually printed on the package).
Step 2: Match The Connector
Each connector is rated for a wire size range. Never force a large wire into a small connector or use a connector that’s too big—the crimp will not hold.
Step 3: Choose The Right Crimper
Some crimpers are universal, but many are designed for a certain type (insulated, non-insulated, ferrules, etc. ). Check the tool labeling.
Non-obvious insight: Some connectors, like ferrules, need a square or hex crimp, not a round one. Using the wrong crimper can actually damage the connection.

Credit: knowhow.napaonline.com
Preparing The Wire
Good preparation is half the work. Here’s how to get your wire ready:
- Measure and cut: Trim the wire to the right length. Leave a bit extra for mistakes.
- Strip the insulation: Use wire strippers set to the correct gauge. Remove just enough insulation to fit into the connector—usually 6–8mm (about 1/4 inch).
- Inspect the strands: Make sure the copper strands are not cut or damaged. Twisted strands can be gently twisted together for easy insertion.
Common mistake: Stripping too much insulation exposes bare wire, which can short with other components. Too little, and the crimp won’t grab the copper.
Step-by-step Guide: How To Crimp Wire Connectors
Now let’s walk through the actual crimping process for standard insulated connectors. The general method works for most crimp types.
1. Insert The Wire
Push the stripped wire into the barrel of the connector until the insulation touches the metal. You should not see any copper outside the connector.
2. Position The Connector In The Crimper
Open the crimping tool and place the connector in the right slot. Most tools have color-coded dies: red for 22–18 AWG, blue for 16–14 AWG, yellow for 12–10 AWG.
Non-obvious insight: The seam of the connector barrel should face away from the crimping jaws, unless your tool is designed for seam-side crimping.
3. Squeeze Firmly
Close the crimper handles completely. You should feel a solid resistance, and the tool may “click” when the crimp is finished. Don’t use excessive force—just enough for the tool to do its job.
4. Inspect The Crimp
Pull gently on the wire. It should not come out or move. Look for:
- No exposed copper outside the barrel.
- The barrel is tightly compressed.
- The insulation is not crushed.
5. Heat Shrink (if Needed)
For heat-shrink connectors, use a heat gun to evenly shrink the tubing around the wire. The seal should be smooth and tight.
6. Test The Connection
Use a multimeter on continuity mode. Touch probes to each end of the wire—you should get a beep or a low resistance reading.
Tip: If your crimp fails the pull test or looks misshapen, cut it off and start again. Never reuse crimped connectors.
Special Techniques For Different Connector Types
Not all connectors are crimped the same way. Here’s how to handle some common variants:
Ring And Spade Terminals
These are crimped just like butt connectors, but the wire goes in only one side. Make sure the crimp is made on the metal barrel, not the ring or fork.
Ferrules
Ferrules need a special crimper that shapes the barrel into a square or hex. Insert the wire, place the ferrule in the die, and squeeze. These are common in industrial panels.
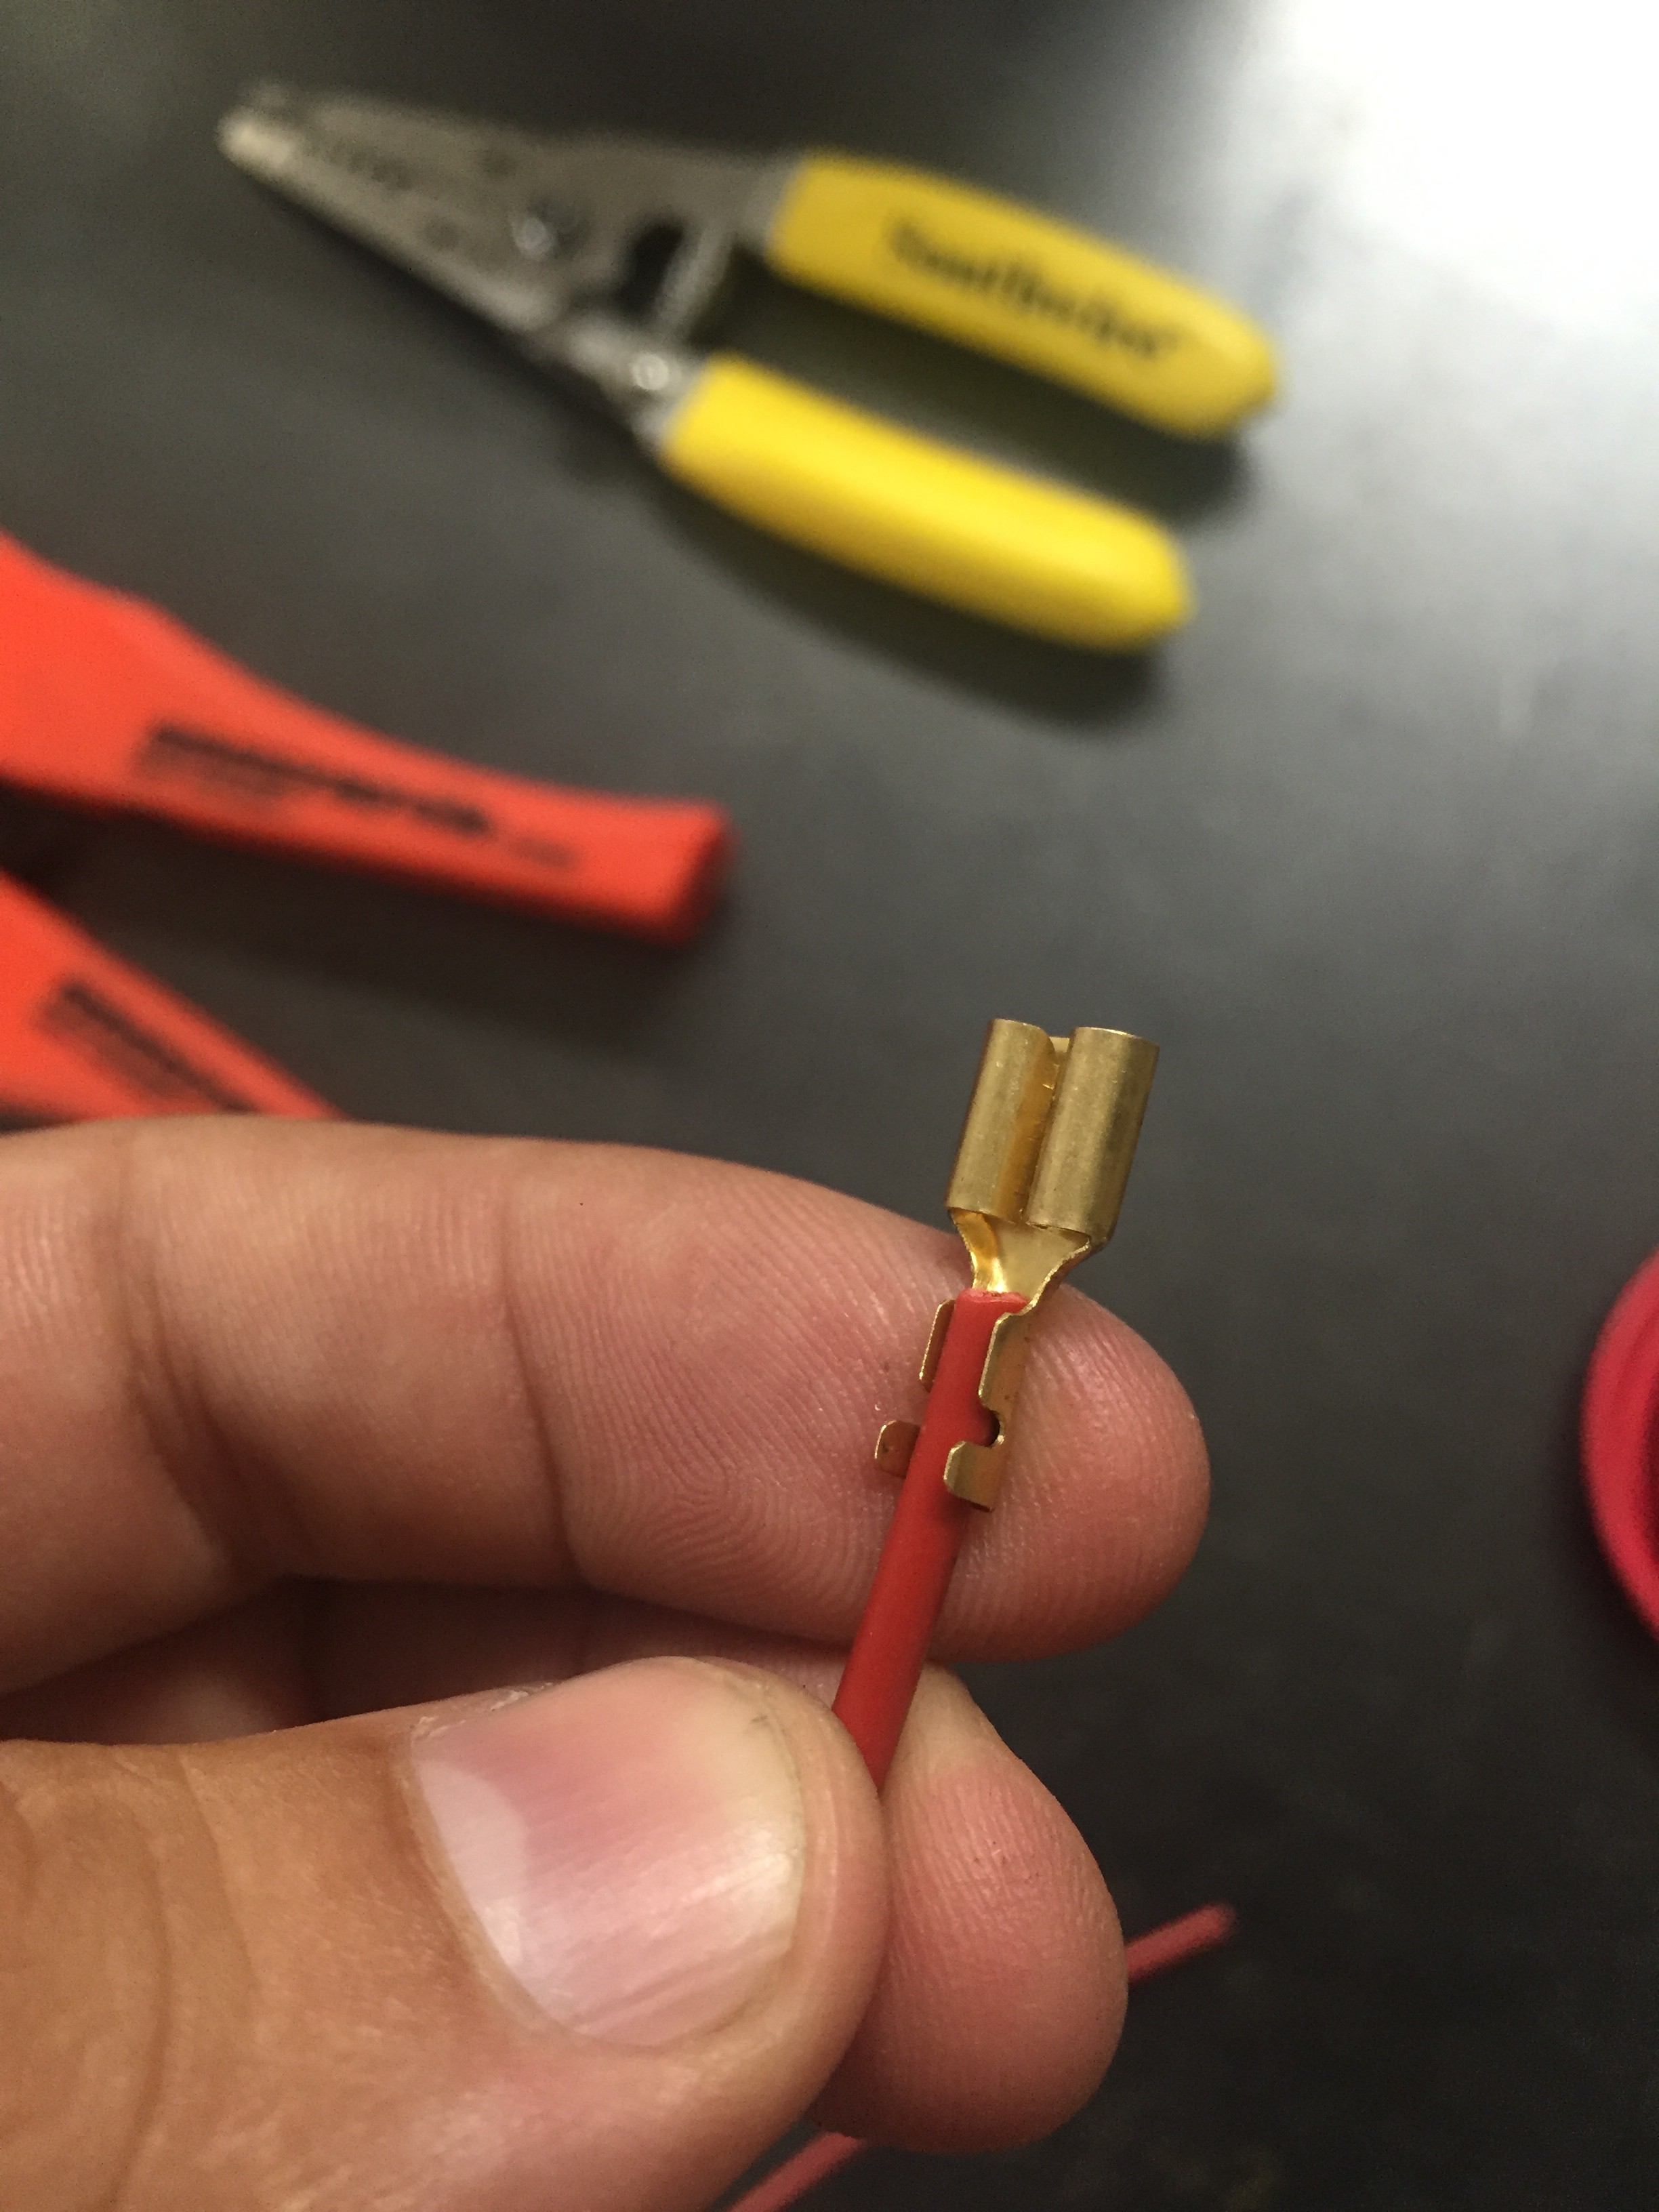
Uninsulated Connectors
Some crimpers have a “W” or “oval” shaped die for uninsulated connectors. The crimp should fold the barrel tightly around the wire. Tape or use heat-shrink tubing to insulate if needed.
Quick Disconnects
Male and female disconnects are crimped the same way as butt connectors. Make sure the fit is tight so the connectors do not slip apart.
Mistakes To Avoid When Crimping
Even experienced users make mistakes. Watch for these common errors:
- Using the wrong connector size: Too big or too small leads to poor contact.
- Stripping too much/too little insulation: Exposed wire or poor contact.
- Crimping the insulation, not the metal: The wire pulls out easily.
- Using pliers instead of a crimper: Flat or loose crimps.
- Over-crimping: Crushing the connector or wire, causing breaks.
- Not testing the connection: Failing to check leads to hidden faults.
- Reusing connectors: Old crimps are unreliable and unsafe.
Pro tip: Mark your crimped connectors with a permanent marker to track which ones you’ve finished, especially in complex projects.
Quality Checks And Testing
A crimped connection should be:
- Mechanically strong (pass the pull test)
- Electrically sound (low resistance)
- Visually neat (no stray wire strands)
Testing With A Multimeter
Set your multimeter to continuity or resistance mode. Touch the probes to each end of the connection. You should hear a beep (continuity) or see a reading near zero ohms (resistance).
Visual Inspection
Look for:
- No bare wire visible
- Connector barrel is evenly crimped, not split
- Insulation is not pinched or torn
Advanced tip: For mission-critical or high-vibration applications, use a crimp force tool to measure the actual compression.
When To Use Solder Vs. Crimp
Crimping is not always the only option. Sometimes soldering is better, especially for tiny wires or electronics. But for most automotive, home, and industrial uses, crimping is preferred because:
- It’s faster
- No heat damage to wires
- Better vibration resistance
Some advanced connectors combine both: crimp first, then solder for extra strength. But for most users, a proper crimp is enough.
Credit: www.hughshandbuilt.com
Environmental And Safety Considerations
Where you install the connection matters. For outdoor, marine, or automotive use, moisture and vibration are big threats. Use heat-shrink connectors or add extra insulation.
Always wear safety glasses when cutting or crimping wires. Copper strands can snap and fly into your eyes.
Fact: In the US, the National Electrical Code recommends crimped connections for most permanent wiring in homes and vehicles. For more detailed standards, check the Wikipedia page on electrical crimping.
Comparison Of Common Wire Connector Types
Here’s a quick look at connector types and their main uses.
| Type | Main Use | Best For |
|---|---|---|
| Butt Connector | Joining two wires end-to-end | Automotive, repairs |
| Ring Terminal | Connecting to a stud or screw | Grounding, panels |
| Spade Terminal | Quick screw connections | Switches, relays |
| Quick Disconnect | Fast connect/disconnect | Appliances, speakers |
| Ferrule | Prevent wire fraying | Terminal blocks |
| Bullet Connector | Snap together/disconnect | Automotive, lighting |
| Heat Shrink Connector | Weatherproofing | Outdoor, marine |
Troubleshooting Crimping Problems
Sometimes, things go wrong even if you follow instructions. Here’s how to fix common problems:
Problem: Wire Pulls Out Easily
- Cause: Wrong size connector, not enough crimp force.
- Solution: Check wire gauge and connector size. Use a ratcheting crimper for consistent force.
Problem: Connector Barrel Splits
- Cause: Over-crimping or poor-quality connector.
- Solution: Use a better-quality connector and the correct die size.
Problem: High Resistance Reading
- Cause: Loose strands, poor contact, or oxidation.
- Solution: Strip wire cleanly, use fresh connectors, and crimp firmly.
Problem: Frayed Or Damaged Strands
- Cause: Using the wrong size wire stripper or twisting too hard.
- Solution: Use a wire stripper that matches the gauge.
Problem: Insulation Pinched Or Burned
- Cause: Using a crimper on the insulation or overheating with a heat gun.
- Solution: Position the connector correctly in the tool and use moderate heat.
Extra tip: If you keep having trouble, practice on scrap wire before starting your main project.
Advanced Crimping Tips
If you want to get professional results, consider these advanced techniques:
- Double Crimping: Some connectors (especially heat-shrink) support crimping the wire and insulation separately for extra strength.
- Marking Connections: Use colored heat-shrink or labels to identify different wires in complex projects.
- Using a Crimp Pull Tester: For mission-critical jobs, test each connection to a standard pull force.
- Sealing with Adhesive-lined Heat Shrink: For waterproofing, use connectors with adhesive inside the heat shrink.
Real-world Example: Automotive Wiring Repair
Imagine you need to fix a broken tail light wire in your car. Here’s how you’d use everything you’ve learned:
- Identify the wire gauge (often 16 AWG for tail lights).
- Select a blue butt connector (for 16–14 AWG).
- Cut and strip both wire ends 1/4 inch.
- Insert wires into the connector until the insulation touches the barrel.
- Crimp each side with a ratcheting crimper, using the blue die.
- Pull test each wire.
- Use a heat gun to shrink the tubing if using a heat-shrink connector.
- Test the tail light for proper function.
This method ensures a strong, vibration-proof, and weather-resistant repair.
Table: Crimp Connector Size Guide
Choose the right color and connector for your wire:
| Color | Wire Gauge (AWG) | Common Use |
|---|---|---|
| Red | 22–18 | Lighting, electronics |
| Blue | 16–14 | Automotive, appliances |
| Yellow | 12–10 | Heavy duty, power feeds |
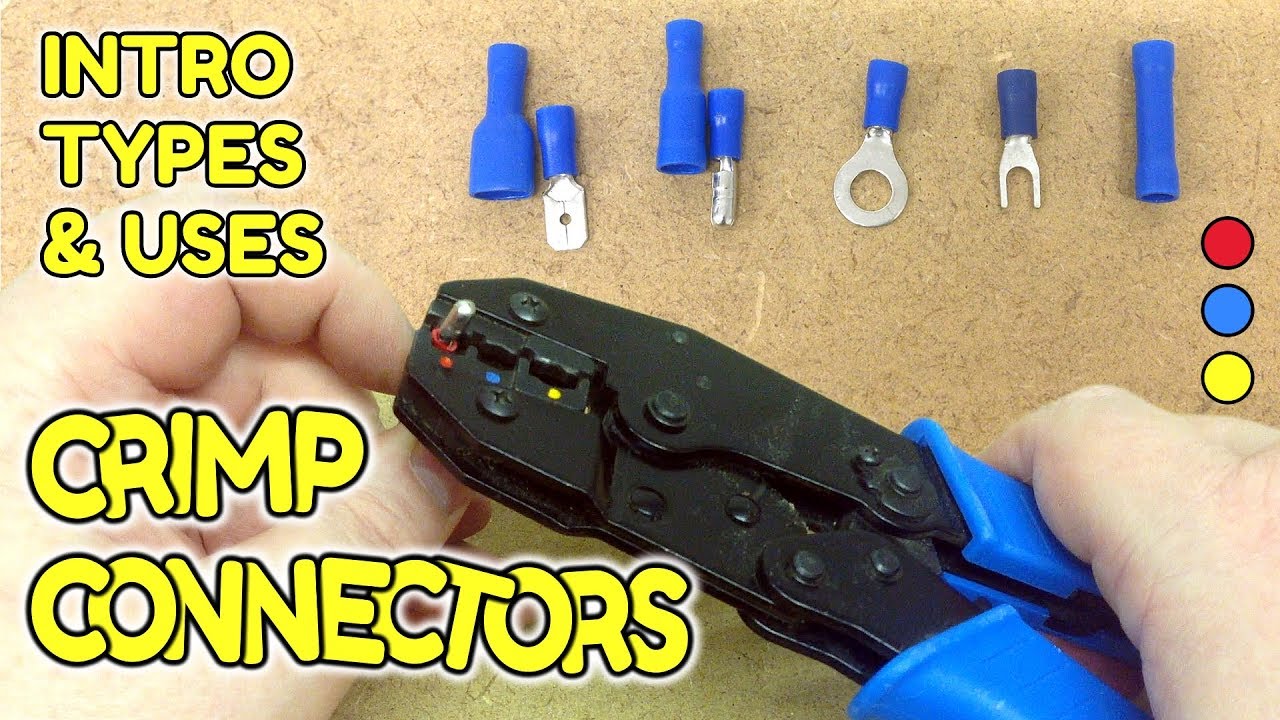
Credit: www.youtube.com
Frequently Asked Questions
What Is The Difference Between Crimping And Soldering?
Crimping uses a tool to squeeze a connector onto a wire, making a mechanical and electrical bond. Soldering uses heat to melt metal and join wires. Crimping is faster and better for vibration-prone environments like cars, while soldering is best for small electronics.
How Do I Know If My Crimp Is Strong Enough?
A good crimp passes the “pull test. ” Gently pull on the wire—if it stays in place, it’s strong. You can also check with a multimeter for low resistance. Visually, the barrel should be tightly compressed without splits.
Can I Reuse Wire Connectors?
No, you should never reuse crimped connectors. Once crimped, the metal deforms and will not grip securely again. Always use a new connector for each crimp.
What Happens If I Use The Wrong Size Connector?
If the connector is too big, the wire may pull out or have poor contact, causing resistance and heat. If too small, the wire won’t fit, or you may damage the strands. Always match the connector to your wire gauge.
Why Do My Connectors Keep Failing?
Common reasons include using pliers instead of a proper crimper, mismatched sizes, poor wire preparation, or not crimping firmly enough. Practice on scrap wire, and always test your connections before final installation.
Crimping wire connectors the right way ensures your electrical connections are safe, strong, and reliable for years to come. With the right tools, careful preparation, and attention to detail, you can handle wiring projects like a pro. As you gain experience, these skills will make every project smoother and safer, whether it’s in your car, home, or workshop.