Polishing aluminum can transform dull, oxidized surfaces into a mirror-like finish that stands out. Whether you have car parts, kitchen equipment, or decorative pieces, a shiny aluminum surface looks impressive and professional. But many people struggle to get that perfect shine. It’s common to see swirl marks, uneven gloss, or missed spots after hours of hard work. Using a buffer (also called a polishing machine) can make the job faster, easier, and much more effective than polishing by hand. However, if you don’t know the right steps, it’s easy to make mistakes that can damage the metal or deliver poor results.
This detailed guide covers everything you need to know about how to polish aluminum with a buffer. You’ll learn about the tools, the right products, preparation, step-by-step instructions, expert tips, and how to keep your aluminum looking new for a long time.
Whether you’re a beginner or someone with some experience, you’ll find practical advice and insights here. Let’s get started on making your aluminum shine like never before.
Understanding Aluminum And Why It Needs Polishing
Aluminum is a popular metal because it is light, strong, and doesn’t rust like steel. You’ll find it in cars, motorcycles, boats, kitchenware, wheels, and many other products. However, aluminum reacts with air and forms a thin layer called aluminum oxide. This layer protects the metal from deeper damage, but it also makes the surface look dull or cloudy.
Over time, aluminum can develop:
- Oxidation (a chalky or whitish layer)
- Scratches and scuffs
- Water spots
- Staining from chemicals or dirt
Polishing removes this layer and smooths the surface, bringing back the original shine. For large or flat surfaces, using a buffer is much faster and gives a more even finish than polishing by hand.
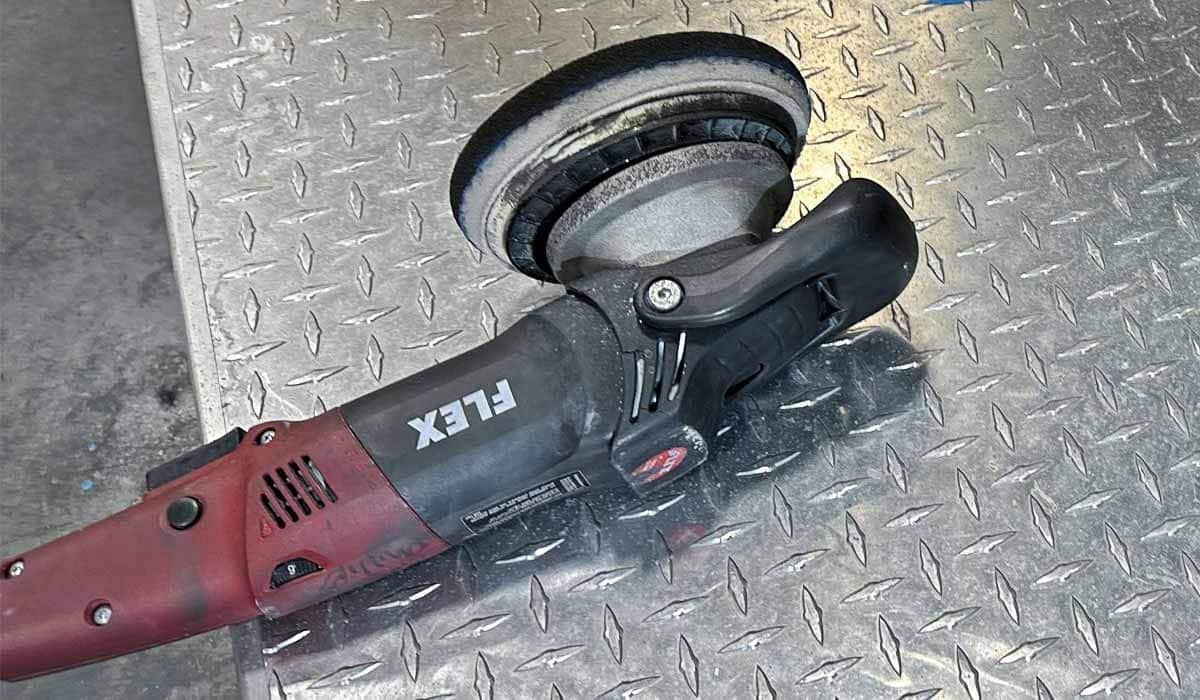
Tools And Materials You Need To Polish Aluminum With A Buffer
Before you start, it’s important to have the right equipment and supplies. Here’s what you will need:
Essential Tools
- Buffer or Polisher
- Types: Rotary (spins in circles) or Dual Action (moves in circles and orbits at the same time)
- Power: Corded electric, cordless, or pneumatic (air-powered)
- Speed: Should offer variable speed (ideally 1500–3500 RPM for polishing aluminum)
- Polishing Pads
- Foam pads for light polishing and finishing
- Wool pads for heavy oxidation or scratches
- Microfiber pads for final buffing
- Microfiber Cloths
- For wiping off polish and cleaning the surface
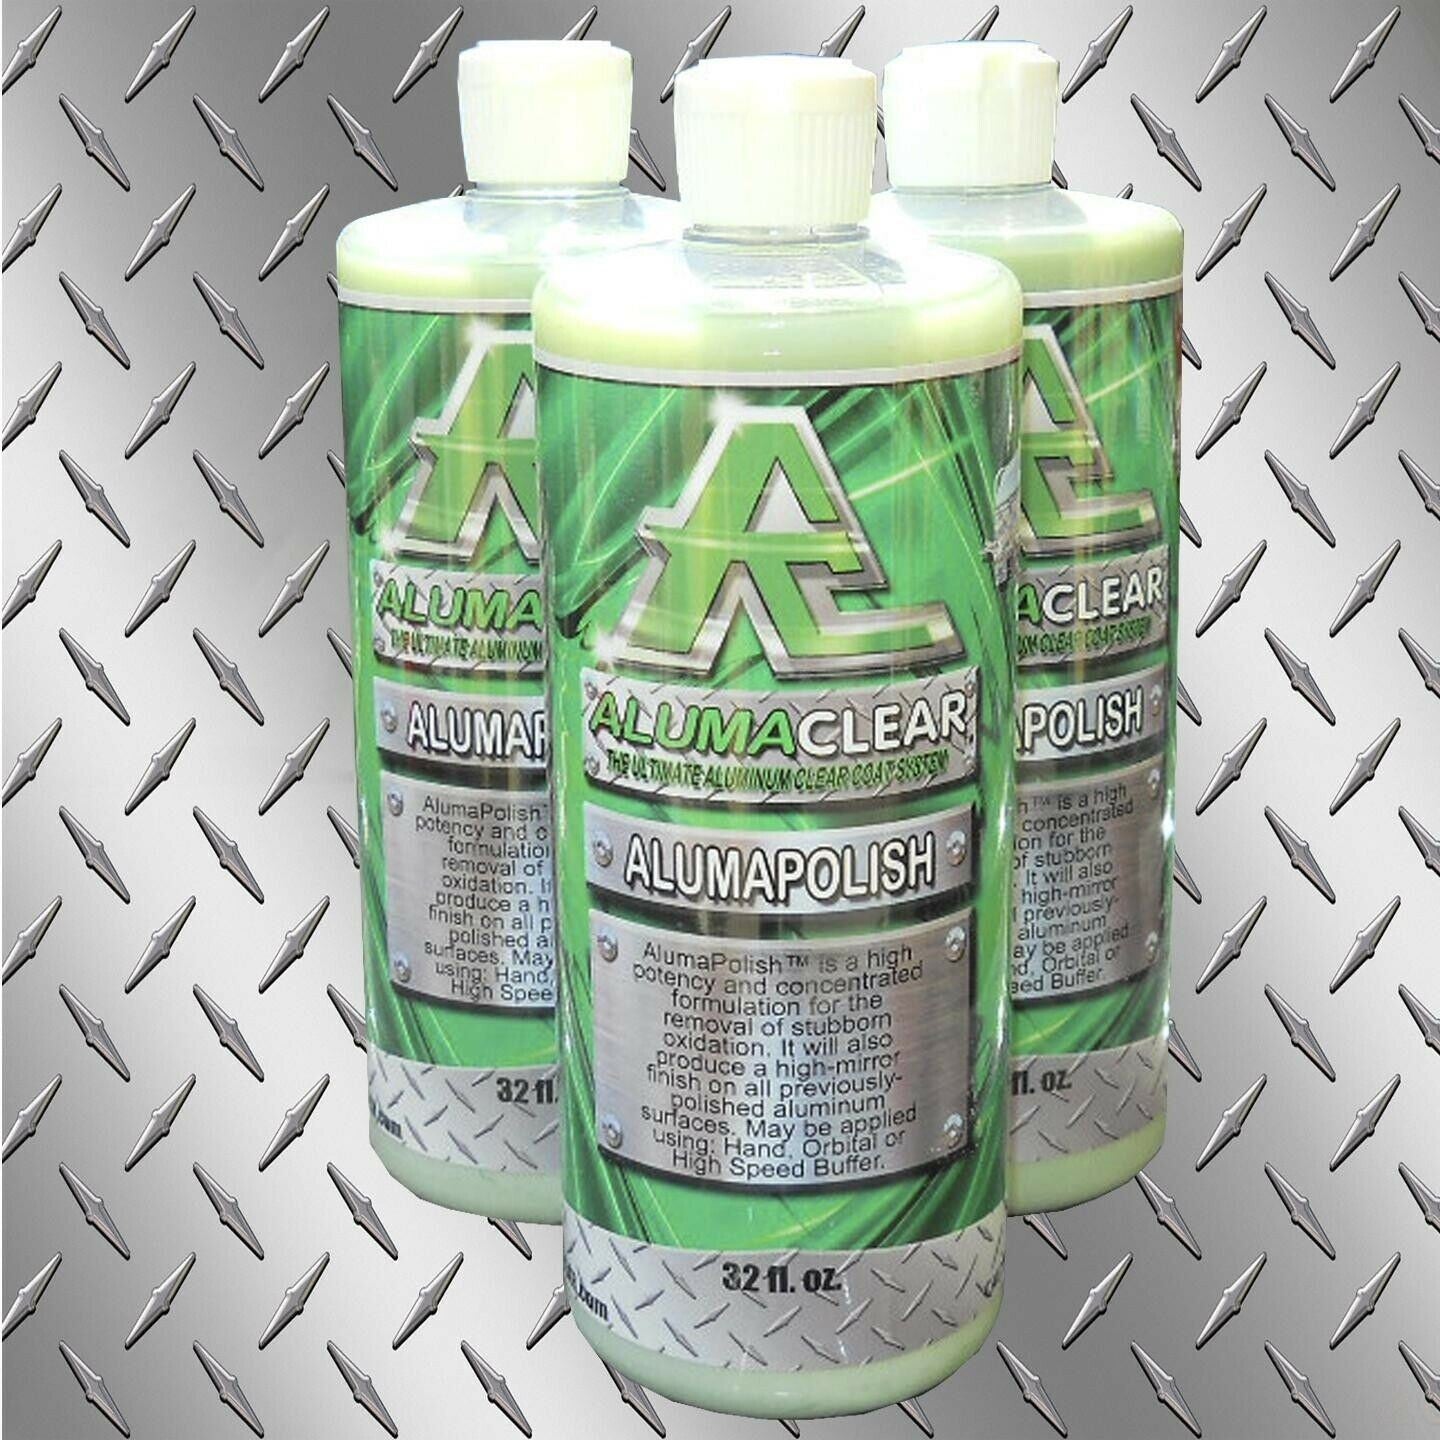
Polishing Compounds And Cleaners
- Aluminum polish (liquid, paste, or cream)
- Metal polishing compound (for deeper scratches or heavy oxidation)
- Degreaser or dish soap (for cleaning before polishing)
Safety Gear
- Safety glasses (to protect your eyes from splatter)
- Gloves (to keep polish and chemicals off your hands)
- Dust mask (if working indoors or with lots of powdery residue)
Optional But Useful
- Masking tape (to protect nearby areas you don’t want to polish)
- Compressed air (for blowing out dust and debris)
- Detailing brushes (for cleaning small crevices)
Comparison: Hand Polishing Vs. Buffing Machine
To help you understand why a buffer is better for large jobs, here’s a quick look at how the two methods compare:
| Feature | Hand Polishing | Buffer/Polisher |
|---|---|---|
| Speed | Slow | Fast |
| Consistency | Uneven | Even finish |
| Best For | Small areas | Large or flat surfaces |
| Physical Effort | High | Low |
| Risk of Damage | Low | Moderate (if misused) |
Preparing Aluminum For Polishing
Proper preparation is the key to a great finish. Skipping this step is a common mistake and leads to poor results.
Step 1: Clean The Surface Thoroughly
Start by washing the aluminum part with warm water and a mild degreaser or dish soap. This removes dirt, grease, and road grime. Use a soft brush for corners and textured areas. Rinse well and dry completely with a microfiber towel.
Tip: Avoid strong chemical cleaners like bleach or ammonia, as they can stain aluminum.
Step 2: Remove Old Coatings Or Paint (if Needed)
If your aluminum has a clear coat or paint layer, you may need to remove it first. Use a commercial paint stripper or sandpaper (start with 400–600 grit for sanding). Always follow safety instructions when working with chemicals.
Step 3: Repair Deep Scratches Or Dents
If you see deep scratches, gouges, or dents, fix them before polishing. Use fine-grit sandpaper (800–1500 grit) to smooth out the area. For very deep marks, start with a coarser grit and finish with finer grits. Wipe away any sanding dust.
Step 4: Mask Off Areas You Don’t Want Polished
Use masking tape to protect plastic, rubber, or painted parts near the aluminum. This prevents accidental damage from the buffer or polishing compound.
Choosing The Right Buffer For Aluminum
Not all buffers are the same. Picking the right type makes polishing easier and safer.
Types Of Buffers
- Rotary Buffer
- Spins in a circle at high speed
- Removes heavy oxidation and scratches quickly
- Can burn or damage metal if not used carefully
- Dual Action (DA) Polisher
- Spins and orbits at the same time
- Gentler and safer for beginners
- Harder to damage the aluminum
- Angle Grinder With Polishing Pad
- Very powerful, but risky for beginners
- Use only if you’re experienced
Power And Speed
- Look for a buffer with variable speed settings. Lower speeds (1500–2000 RPM) are safer for aluminum.
- Too much speed can overheat the metal and leave swirl marks.
Pad Size
- 5- to 7-inch pads are common for most jobs
- Use smaller pads for tight spaces or detailed work
Table: Popular Buffer Types For Aluminum Polishing
| Buffer Type | Best Use | Difficulty | Price Range |
|---|---|---|---|
| Rotary Buffer | Heavy oxidation, large flat areas | Advanced | $80–$400 |
| Dual Action (DA) Polisher | General polishing, curved surfaces | Beginner–Intermediate | $60–$300 |
| Angle Grinder | Heavy-duty, industrial work | Expert | $50–$250 |
Picking The Best Polishing Pads And Compounds
The right combination of pad and polish is the secret to getting a mirror finish.
Types Of Polishing Pads
- Wool Pads: Best for heavy oxidation or rough surfaces. Cut fast but can leave swirl marks.
- Foam Pads: Good for light to medium polishing. Available in different softness levels (firm for cutting, soft for finishing).
- Microfiber Pads: Great for a final shine or removing light haze.
Tip: Never mix pads between different polishing compounds without washing them first.
Choosing A Polishing Compound
- Heavy-cut compound: For severe oxidation and scratches
- Medium-cut polish: For moderate dullness and minor scratches
- Finishing polish: For final gloss, removing haze and swirl marks
Many brands make aluminum-specific polishes, such as Mothers Mag & Aluminum Polish, Flitz Metal Polish, or Meguiar’s Metal Polish.
Table: Pad And Compound Pairing For Aluminum
| Surface Condition | Pad Type | Compound Type |
|---|---|---|
| Heavy Oxidation | Wool | Heavy-cut |
| Light Oxidation | Foam (firm) | Medium-cut |
| Fine Polishing | Foam (soft) or Microfiber | Finishing polish |
Step-by-step Guide: How To Polish Aluminum With A Buffer
Follow these steps for the best results. Take your time, and don’t rush.
Step 1: Secure The Aluminum Object
Place your aluminum piece on a stable work surface. If it’s a car or motorcycle part, make sure the area is clear and you can reach all surfaces. For small items, clamp them down if needed.
Step 2: Attach The Correct Pad To Your Buffer
- Start with a wool or firm foam pad for oxidized or scratched surfaces.
- For surfaces that are already in good shape, use a soft foam or microfiber pad.
Step 3: Apply Polishing Compound
- Put a small amount (about a teaspoon) of compound directly on the pad.
- Or, apply a thin line of polish to the aluminum surface.
- Do not overload the pad; too much compound makes a mess and reduces effectiveness.
Step 4: Set The Buffer To Low Speed
- Always start at the lowest speed setting.
- Hold the buffer flat against the aluminum.
- Turn on the buffer before touching the surface to avoid splatter.
Step 5: Begin Polishing
- Move the buffer slowly in overlapping passes.
- Use light to moderate pressure. Let the machine do the work.
- Work in small sections (about 1–2 square feet at a time).
- Keep the pad flat to avoid making swirl marks.
Expert Insight: Many beginners press too hard, thinking it will polish faster. This only creates heat and can damage the aluminum. Focus on steady, even movement.
Step 6: Wipe Off Residue
- After 2–3 passes, turn off the buffer and wipe off the residue with a clean microfiber cloth.
- Check your progress. If you see dull spots or scratches, repeat the process.
Step 7: Switch Pads And Compounds For Finer Polishing
- Once the surface looks even, switch to a softer pad and a finer polish.
- Repeat the same process to bring out a deeper shine.
- For a mirror finish, you may need 2–3 rounds with progressively finer polish.
Step 8: Final Buff By Hand
- After machine polishing, use a fresh microfiber cloth to buff the aluminum by hand.
- This removes any leftover haze and gives the surface extra shine.
Step 9: Inspect And Touch Up
- Look at the aluminum from different angles and under different lights.
- Touch up any missed spots with a small pad or by hand.
Non-Obvious Insight: Aluminum heats up quickly when polished with a buffer. If the surface feels hot to the touch, stop and let it cool. Overheating can cause the metal to warp or the polish to dry out, leaving streaks.
Common Mistakes And How To Avoid Them
Even experienced users make mistakes that affect the final result. Here are some to watch out for:
- Using the Wrong Pad or Compound
- Using a rough pad for fine polishing can scratch the surface.
- Polishing a Dirty Surface
- Any dirt or grit left on the metal will cause scratches.
- Moving Too Fast
- Quick passes don’t give the compound time to work.
- Too Much Pressure
- Pressing hard does not improve shine; it can burn or mar the aluminum.
- Skipping Steps
- Not using finer polishes at the end leaves the surface cloudy.
- Not Cleaning Pads
- Dirty pads spread old polish and grit, ruining the finish.
Pro Tip: Always clean your pads with warm water and mild soap after each use. Let them dry completely before storing.
Polishing Different Types Of Aluminum Surfaces
Not all aluminum is the same. Here’s how to handle common types:
Polished Vs. Brushed Aluminum
- Polished aluminum is smooth and shiny. Use fine pads and finishing polish for best results.
- Brushed aluminum has a grain or texture. Use medium pads, and always polish in the direction of the grain.
Cast Aluminum
- More porous and rougher than sheet aluminum.
- Start with a heavier compound and wool pad.
- You may not get a perfect mirror, but it will improve a lot.
Aluminum Wheels And Engine Parts
- These are exposed to dirt, heat, and road salt.
- Clean thoroughly before polishing.
- Use a sealant or wax after polishing to protect the finish.
Decorative Items And Trim
- Often delicate or have fine details.
- Use small pads or polish by hand in tight spots.
How To Maintain Your Polished Aluminum
After polishing, you want your hard work to last. Here’s how to keep aluminum looking great:
- Wash Regularly
- Use mild soap and water; avoid harsh chemicals.
- Dry After Washing
- Prevents water spots and oxidation.
- Apply a Protective Wax or Sealant
- There are special products for polished aluminum.
- This adds a layer that blocks oxidation and makes cleaning easier.
- Touch Up Small Areas
- If you see a dull spot, polish it by hand before it spreads.
- Store Indoors or Cover
- For loose items, keep them dry and away from moisture.
Non-Obvious Insight: Some car waxes contain cleaners that can dull aluminum. Always choose a product labeled safe for bare or polished aluminum.
How To Polish Aluminum With A Buffer: Real-world Example
Let’s look at a real-world example: polishing a set of aluminum wheels.
- Remove the wheels from the car for easier access.
- Clean with water, degreaser, and a brush to remove brake dust and road grime.
- Dry completely and inspect for damage or curb rash.
- Mask off valve stems and any non-aluminum parts.
- Attach a wool pad and apply a heavy-cut aluminum polish.
- Set your buffer to low speed and polish in small sections.
- Wipe off residue and check the result.
- Switch to a foam pad and use a finishing polish.
- Buff by hand with a microfiber cloth for extra shine.
- Apply a protective sealant.
- Reinstall the wheels and enjoy the brilliant finish.
Extra Tip: For wheels with tight spokes, use a small pad or a drill-mounted foam cone for hard-to-reach spots.
Environmental And Safety Considerations
Polishing aluminum creates fine dust and chemical residue. Here’s how to stay safe and reduce environmental impact:
- Work in a well-ventilated area or outdoors
- Wear a dust mask and safety glasses
- Dispose of used pads, rags, and compounds properly
- Avoid washing polish residue into storm drains
Aluminum Polishing Myths Debunked
Many people believe you need expensive tools or secret formulas for a mirror finish. In reality, technique matters more than brand names. Here are some common myths:
- “You must use the most aggressive compound for best shine.”
- False. Too aggressive can scratch and dull the finish.
- “Polishing once is enough.”
- False. Multiple passes with finer compounds create the deepest shine.
- “Household cleaners work just as well as polish.”
- False. Only use products designed for metal or aluminum.
- “A buffer always gives better results than hand polishing.”
- Not always. For small or detailed items, hand polishing is safer.
For more on aluminum and its properties, visit the Aluminium (Wikipedia) page.

Frequently Asked Questions
What’s The Best Speed For Polishing Aluminum With A Buffer?
For most aluminum polishing, use a buffer speed between 1500 and 2500 RPM. Lower speeds reduce the risk of overheating and swirl marks. Always start slow and increase only if needed.
Can I Use A Car Buffer To Polish Aluminum Wheels?
Yes, a car buffer works well for aluminum wheels. Just be sure to use the correct pads and aluminum-specific polish. Clean the wheels first and mask off any non-metal areas.
How Often Should I Polish Aluminum?
For outdoor items like wheels or boat parts, polish every 3–6 months to keep the shine and protect against oxidation. For indoor items, once or twice a year is usually enough.
Is It Safe To Use A Buffer On Thin Aluminum Sheets?
Yes, but use light pressure and low speed. Thin sheets can heat up quickly and may warp if you press too hard or stay in one spot too long.
What If My Aluminum Has Deep Scratches?
Start by sanding out deep scratches with fine-grit sandpaper (800–1500 grit), then polish with a buffer as described above. Deep gouges may need professional repair.
Polishing aluminum with a buffer is a skill that gets easier with practice. By following these steps and tips, you’ll achieve a bright, smooth finish that looks professional. Always use the right tools, take your time with each stage, and protect your hard work with regular maintenance.
With patience and care, your aluminum parts will shine for years to come.