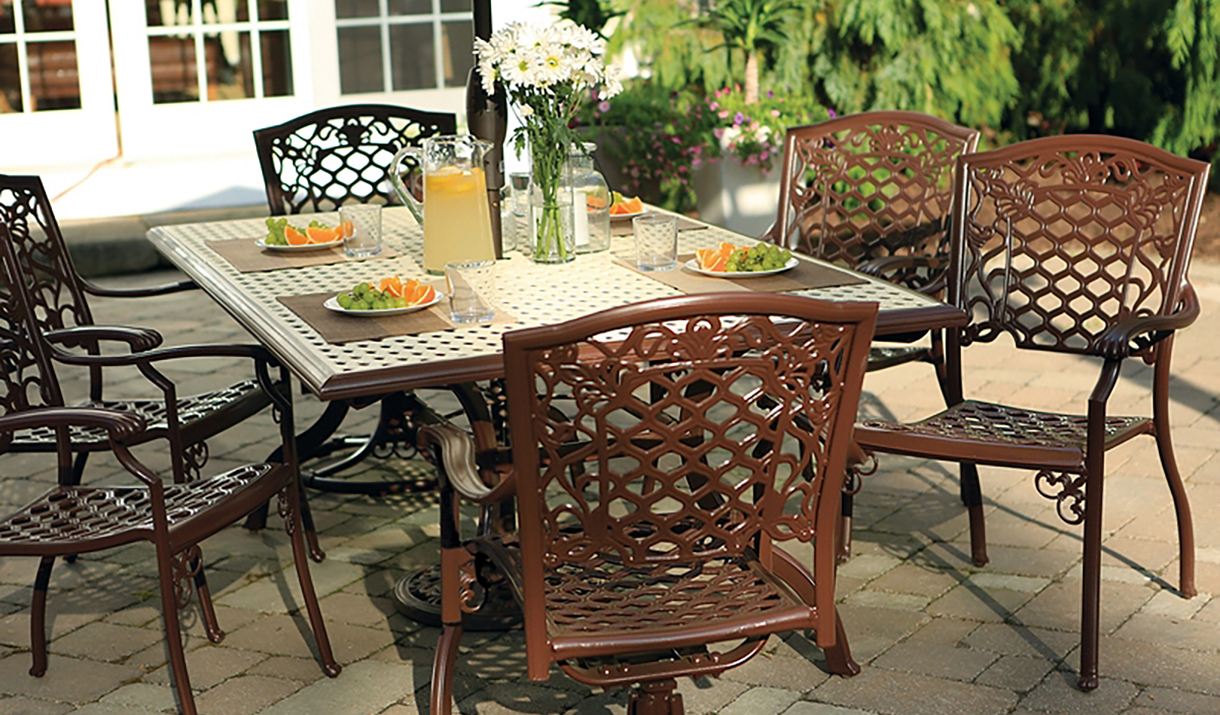
Giving your metal garden furniture a fresh coat of paint can work wonders. It hides rust, covers old colors, and brings a whole new life to your outdoor space. Many people think spray painting metal is simple, but getting a smooth, long-lasting finish needs planning, the right tools, and careful steps.
With the right approach, you can turn faded or rusted chairs, tables, and benches into bright, weather-resistant pieces you’ll be proud of for years.
Spray painting metal furniture saves you money compared to buying new pieces. It also lets you choose colors that match your style or garden theme. But if you rush through the process or skip some details, the paint can peel, bubble, or flake after just one season outdoors.
Let’s explore how to spray paint metal garden furniture so your efforts pay off with beautiful, durable results.
Why Spray Paint Metal Garden Furniture?
People choose spray paint for metal furniture for several reasons. Spray painting is fast and covers curved or detailed surfaces better than brushes. It creates a thin, even coat that dries quickly. This method also leaves fewer brush marks, so furniture looks more professional.
Over time, metal garden furniture faces sun, rain, wind, and dirt. Old paint starts to chip or fade. Rust can eat away at unprotected metal. Spray painting protects the surface and stops further damage. It’s also a smart way to upcycle, reduce waste, and personalize your outdoor space.
Choosing The Right Spray Paint
Not all spray paints work well on metal, especially for outdoor use. Picking the right one is the first step to success.
Types Of Spray Paint For Metal
- Standard enamel spray paint: Good for most metals. Dries hard and resists scratches.
- Rust-preventive spray paint: Contains rust inhibitors. Ideal for old or already-rusted furniture.
- High-heat spray paint: Useful for metal near grills or fire pits.
- Primers: Special sprays that help color coats stick and last longer.
Factors To Consider
- Weather resistance: Look for labels like “outdoor,” “weatherproof,” or “UV resistant.”
- Finish: Matte, satin, gloss, or metallic. Glossy finishes show fewer stains but highlight flaws. Matte hides imperfections.
- Color choices: Some brands offer wide color ranges; others stick to basics.
- Drying time: Fast-drying paints make the job quicker, but slower formulas sometimes create stronger bonds.
Popular Brands
- Rust-Oleum
- Krylon
- Valspar
Some brands offer special lines for metal and outdoor use. Read the label to make sure the paint matches your needs.
Tools And Materials Needed
Before you start, gather all supplies. Being prepared avoids delays and mistakes.
- Spray paint (enough cans for the furniture size)
- Rust-inhibiting primer
- Drop cloths or plastic sheets (protect the ground)
- Painter’s tape (cover areas you don’t want painted)
- Sandpaper (medium and fine grit, usually 120–220)
- Wire brush (removes rust)
- Protective gloves
- Dust mask or respirator
- Safety goggles
- Cleaning sponge or cloth
- Mild soap or degreaser
- Bucket of water
- Stiff brush (for deep cleaning)
- Old clothes or coveralls
- Stir sticks (if using paint cans for touch-ups)
- Small paintbrush (for touch-ups)
- Screwdriver or wrench (to remove parts if needed)
A common mistake is to skip on protective gear. Spray paint fumes can be harmful if inhaled, and paint can irritate your skin and eyes.
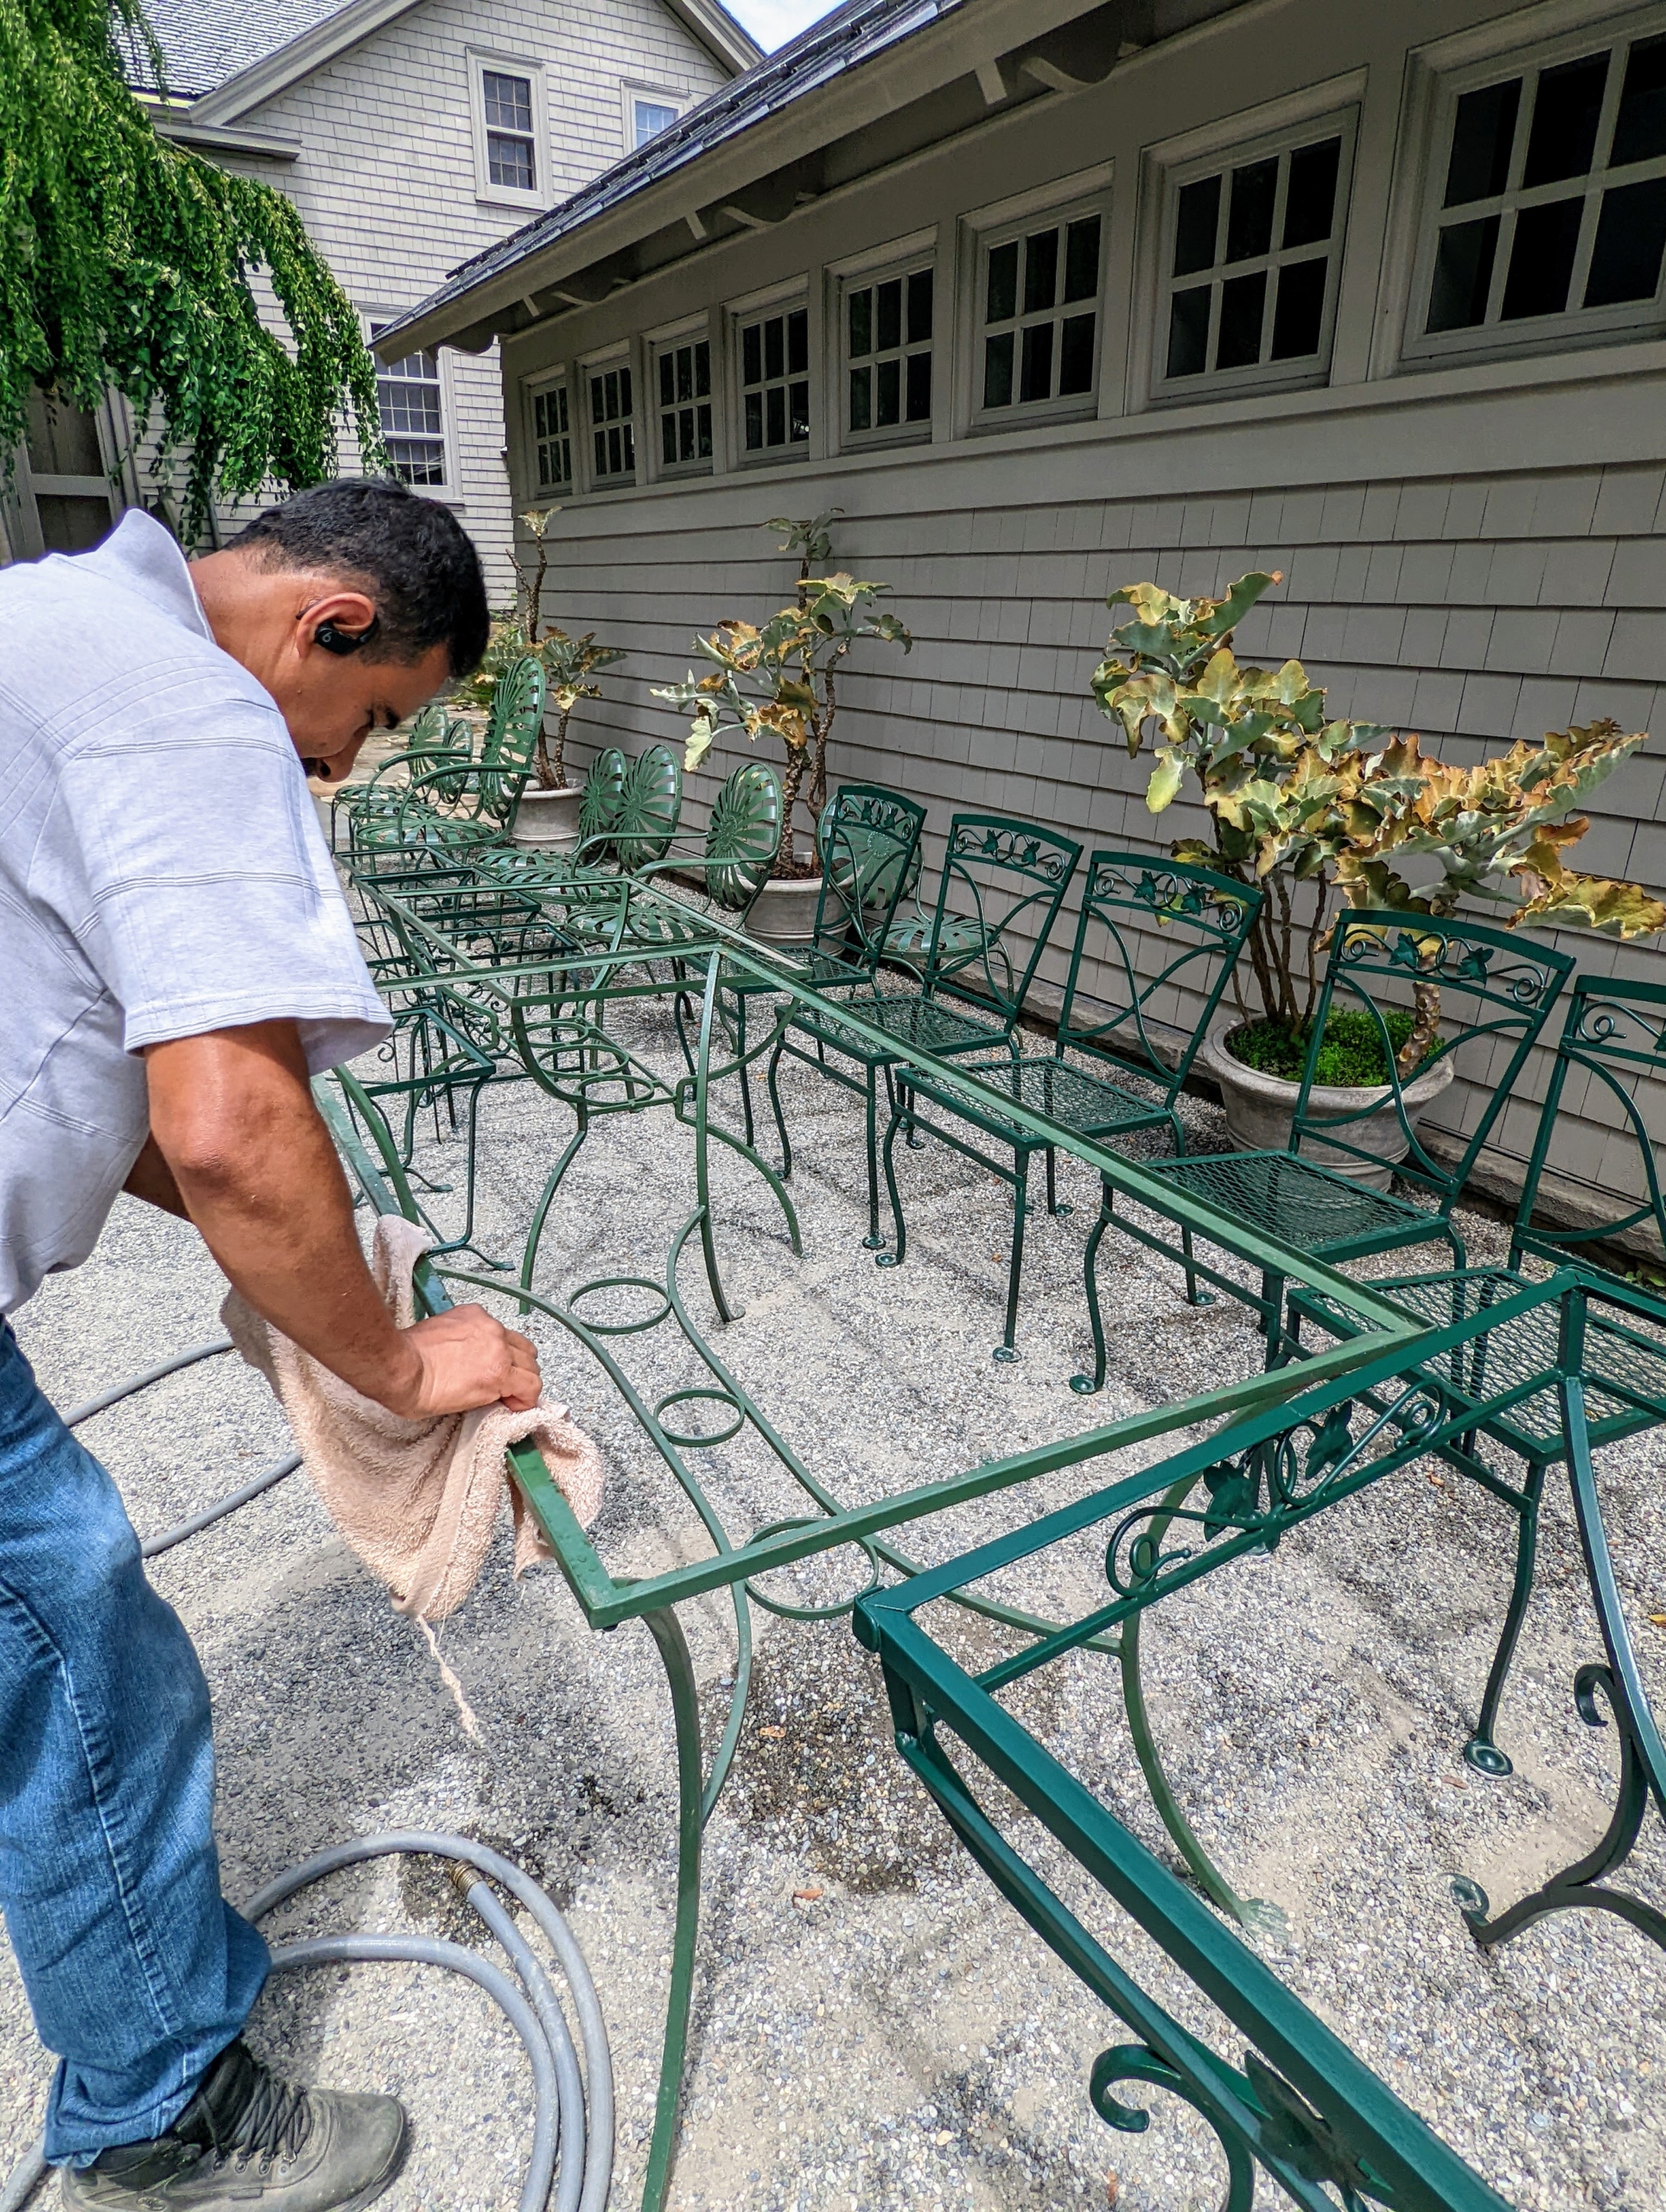
Preparing The Furniture
Preparation is the most important part of spray painting metal. If you skip or rush this, even the best paint will not last.
Cleaning
Start by cleaning the furniture thoroughly. Dirt, oil, or old cobwebs can prevent paint from sticking. Use warm soapy water and a stiff brush to scrub all surfaces. Pay extra attention to corners, joints, and underneath seats. Rinse with clean water and let dry fully.
For greasy spots, use a degreaser. If mold or mildew is present, a mix of water and white vinegar helps remove it.
Removing Rust
Old metal furniture often has rust. Leaving rust under new paint causes peeling and bubbling later. Remove it using:
- Wire brush: Scrub off loose rust and flaking paint.
- Sandpaper: Smooth the surface and remove small spots.
- Chemical rust removers: For heavy rust. Follow product instructions and wear gloves.
After removing rust, wipe the furniture with a damp cloth to remove dust.
Sanding
Sanding is key for a smooth finish. Use medium-grit sandpaper (120–150) first to remove old paint and rough spots. Then use fine-grit paper (180–220) for a final smooth surface. Focus on edges and joints.
If the furniture has many curves or details, sanding sponges can reach tricky spots. Always sand in the direction of the metal grain if possible.
Final Cleaning
After sanding, wipe the furniture with a damp, lint-free cloth. Let it dry completely. Even a little dust or moisture can ruin your paint job.
Disassembling (if Needed)
If your furniture has removable parts (like cushions, glass tops, or bolts), take them off. This makes painting easier and prevents accidental spraying.
Protecting The Surroundings
Spray paint can drift and stain patios, grass, or nearby items. Work outside or in a well-ventilated garage. Lay drop cloths or plastic sheets under and around the furniture. If spraying near walls or fences, cover them with plastic or cardboard.
Windy days are not good for spray painting. Even a light breeze can carry paint droplets onto cars, plants, or neighbor’s property.
Priming The Metal
Priming is not always required, but it makes a big difference for lasting results. A good primer helps paint stick and blocks rust from coming back.
Why Use Primer?
- Improves paint adhesion
- Blocks stains and rust
- Creates a smooth base
Choose a primer labeled for metal. Rust-inhibiting primers are best for outdoor furniture.
How To Apply Primer
- Shake the can for at least 1 minute after the mixing ball rattles.
- Hold the can about 8–12 inches from the surface.
- Spray in short, even passes. Don’t try to cover everything in one go.
- Let each coat dry (usually 15–30 minutes) before adding another.
- Apply 1–2 coats for best protection.
If you see drips, wipe them right away with a cloth and smooth the area with sandpaper after drying.
Spray Painting Technique
A good spray painting technique gives you a smooth, even finish without drips or rough spots. Here’s how to do it:
Shaking And Testing The Can
Shake the spray paint can well—at least 1–2 minutes. This mixes the paint evenly. Test the spray on a piece of cardboard or scrap metal first. This helps you get a feel for the spray pattern and flow.
Spraying The Furniture
- Start spraying just before the furniture and keep moving as you spray across, ending just after the edge. This avoids heavy paint buildup at the start or finish.
- Hold the can 8–12 inches from the surface.
- Move your arm, not just your wrist, for even coverage.
- Use thin coats. It’s better to do 2–4 light coats than one heavy coat.
- Overlap each pass by about one-third.
- Allow each coat to dry (usually 10–20 minutes) before adding the next.
Don’t worry if the first coat looks thin or patchy. Good coverage comes with additional coats.
Hard-to-reach Areas
Turn the furniture upside down or on its side to spray underneath and inside curves. Let the first side dry before flipping.
Common Mistakes
- Spraying too close causes drips.
- Holding the can too far causes rough, dry spots.
- Spraying too thickly can lead to bubbles or sagging.
Patience and several thin coats are the secrets to a professional result.
Drying And Curing Time
Spray paint dries to the touch in about 10–30 minutes, depending on the brand and weather. But full curing (when the paint is hard and durable) can take several days.
- Touch dry: 10–30 minutes
- Handle dry: 1–2 hours
- Recoat time: 10–20 minutes between coats
- Fully cured: 24–72 hours (check the can for details)
Avoid using or moving the furniture until the paint is fully cured. Humid or cold weather increases drying time. If possible, let the furniture dry indoors or under a cover to protect from dust and bugs.
Applying A Clear Protective Topcoat
A clear topcoat is optional but adds extra durability, especially for outdoor furniture. It protects color from UV rays, rain, and scratches.
Choose a clear spray sealer labeled for outdoor use and metal. Apply in thin, even coats after the color coats are fully dry. Usually, 1–2 coats are enough.
Let the topcoat cure for at least 24 hours before using the furniture.
Tips For A Professional Finish
Even beginners can get great results with these extra tips:
- Spray in good light so you can see coverage and drips.
- Keep the spray can moving at a steady speed.
- If you see dust or bugs on wet paint, let it dry fully, sand lightly, and re-spray.
- For a mirror-smooth look, sand lightly between coats with very fine sandpaper (320 grit).
- Don’t paint in direct sunlight—paint dries too fast and may bubble.
- Store leftover paint cans upside down for a few seconds before storing. This clears the nozzle and prevents clogs.
How Many Cans Will You Need?
The amount of spray paint depends on the furniture size and paint type. Most standard cans cover about 8–12 square feet per coat. Chairs usually need 1–2 cans, tables 2–3 cans, and larger benches 3–4 cans for two coats.
Here’s a quick comparison:
| Furniture Type | Approximate Cans Needed | Coats Recommended |
|---|---|---|
| Single Chair | 1–2 | 2 |
| Small Table | 2 | 2 |
| Bench | 3–4 | 2 |
| Bistro Set (table + 2 chairs) | 4–5 | 2 |
Always buy one extra can for touch-ups or unexpected needs. Colors may vary slightly between batches.
Comparing Spray Paint Types
Choosing the right spray paint can be confusing. Here’s a comparison to help you decide:
| Spray Paint Type | Best For | Pros | Cons |
|---|---|---|---|
| Standard Enamel | General metal furniture | Good coverage, many colors | May need primer, not always rust-resistant |
| Rust-Preventive | Old or rusty furniture | Protects against rust, durable | Fewer color options, higher cost |
| High-Heat | Furniture near heat sources | Withstands high temperatures | Limited finish options |
| Primer | Base coat for all metal | Improves adhesion, blocks rust | Not a finish coat, adds extra step |

Comparing Spray Paint Vs. Brush Painting
Some people wonder if spray painting is really better than using a brush. Here’s a quick look at the differences:
| Method | Time Needed | Finish Quality | Best For |
|---|---|---|---|
| Spray Painting | Fast (most pieces in 1–2 hours) | Even, smooth, no brush marks | Detailed, curved, or metal furniture |
| Brush Painting | Slower (often 2–4 hours or more) | May show brush strokes | Flat surfaces, touch-ups, small areas |
Spray painting works best for most metal garden furniture. Brush painting is still useful for small touch-ups or where spray is not practical.
Safety Tips When Spray Painting
Spray paint contains chemicals that can harm you or your environment if not used carefully.
- Work outdoors or in a well-ventilated area.
- Wear a dust mask or respirator to avoid breathing fumes.
- Use safety goggles to protect your eyes from overspray.
- Wear gloves and old clothes.
- Keep children and pets away until the paint is dry.
- Dispose of empty cans properly, following local rules.
- Store leftover paint in a cool, dry place away from heat or flames.
Many beginners forget to protect themselves, especially when working outside. Fumes can still build up and cause headaches or dizziness.
Caring For Your Painted Metal Furniture
After painting, a little care keeps your furniture looking new for years.
- Clean regularly with mild soap and water. Avoid harsh chemicals.
- Touch up chips or scratches right away to stop rust.
- Store furniture indoors or under a cover during winter or heavy rain.
- Inspect for rust every season, especially at joints and feet.
- Avoid dragging furniture on rough surfaces—lift instead.
If you notice fading after a year or two, a quick light sanding and another coat of spray paint will refresh the look.
Advanced Tips And Non-obvious Insights
Many guides miss these advanced tips that make a big difference:
- Use a turntable: Placing the furniture on a cheap rotating stand lets you spray all sides without moving around, preventing missed spots and uneven coverage.
- Warm your spray cans: If the weather is cool, set spray cans in a bucket of warm (not hot) water for 10 minutes before use. This helps the paint flow more smoothly and prevents spitting.
- Work in low humidity: High humidity can make paint dry unevenly or cause blushing (a milky look). Early morning or late afternoon is usually best.
- Label your paint: After finishing, write the color and date on the can with a marker. This helps with future touch-ups, as paint colors can look similar but have small differences.
- Test for compatibility: If using a new brand of topcoat over the paint, test on a hidden area first. Some products react and cause wrinkling or cloudiness.
Spray painting is as much about preparation and patience as it is about skill. Most problems come from rushing, skipping steps, or using the wrong products for outdoor metal.
Frequently Asked Questions
How Long Will The New Paint Last On Outdoor Metal Furniture?
With proper prep and good-quality spray paint, your finish can last 3–5 years outdoors before needing a refresh. Areas exposed to constant sun or rain may fade faster, but a clear topcoat can extend life.
Can I Spray Paint Over Old Paint, Or Must I Remove It All?
You don’t need to strip every bit of old paint unless it’s peeling or flaking. Just sand to smooth the surface and remove loose pieces. If the old paint is glossy, roughen it with sandpaper so new paint sticks.
What Should I Do If The Paint Starts To Bubble Or Peel?
Bubbling or peeling is usually caused by moisture, poor prep, or thick coats. Sand the area to remove loose paint, wipe clean, and re-spray in thin layers. Always let each coat dry fully.
Is It Safe To Spray Paint Indoors If I Open Windows?
Spray painting indoors is risky due to fumes and overspray. If you must paint inside, use a well-ventilated garage with all doors open, and cover everything nearby. Wear a respirator. Outdoors is always safer.
Where Can I Find More Information On Spray Painting Safety And Techniques?
You can find detailed guides and safety tips on sites like WikiHow, which covers spray painting basics and advanced techniques.
Giving your metal garden furniture a fresh spray paint finish is a smart way to save money, reduce waste, and create a personalized outdoor space. With the right prep, technique, and care, you’ll enjoy bright, rust-free furniture for years. Take your time and follow each step—your garden will thank you.