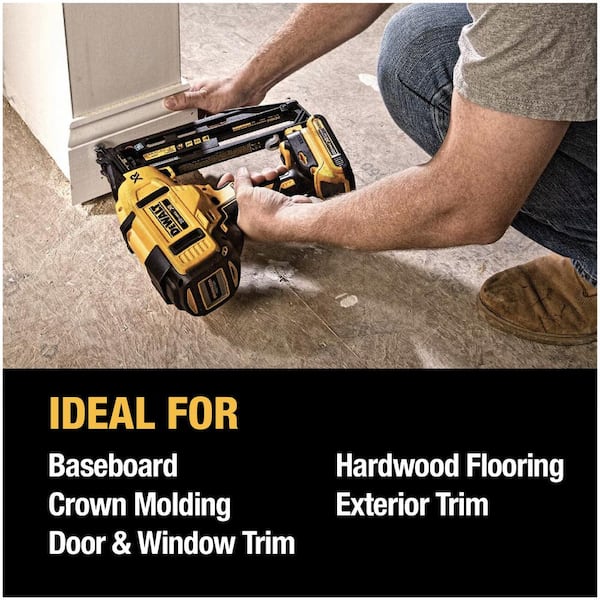
Choosing the right nail gun for trim work can make your project smoother, faster, and more professional-looking. If you pick the wrong tool, you might struggle with jams, visible holes, or even damaged trim. Many beginners think all nail guns work for trim, but that’s not true.
Each type has its strengths and weaknesses, and the details matter. This guide will help you understand exactly what kind of nail gun is best for trim, what to avoid, and how to get the best results—even if you’re new to carpentry.
Understanding Trim Work And Nail Guns
Before looking at nail guns, it’s important to know what trim work involves. Trim includes things like baseboards, crown molding, window casings, door frames, and chair rails. Trim is usually made from wood, MDF, or PVC, and it’s often thin and decorative.
Trim work requires a nail gun that can secure material without splitting it or leaving large, visible holes. The right nail gun helps you work faster and with more accuracy, especially when you need to hold pieces in place for glue or to make tight joints.
There are several types of nail guns, but not all are suitable for trim. Let’s explore the main options.
Main Types Of Nail Guns For Trim
Brad Nailers
Brad nailers shoot thin, small-gauge nails called brads, usually 18-gauge. These are perfect for delicate trim pieces and finishing touches.
- Nail Size: 5/8 inch to 2 inches
- Best For: Small trim, shoe molding, thin baseboards, window and door casings
- Pros: Leaves tiny holes, less chance of splitting, easy to hide
- Cons: Not strong enough for thick or heavy trim
Brad nailers are the most popular choice for fine trim because the holes are almost invisible. They’re also less likely to split fragile materials.
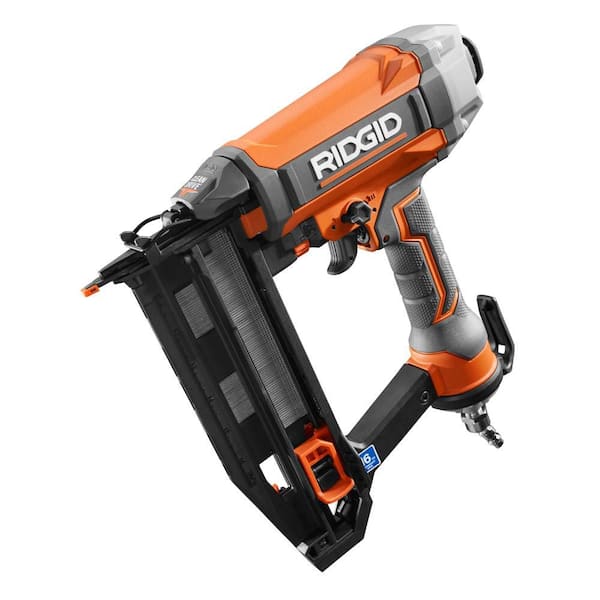
Finish Nailers
Finish nailers use slightly thicker 15- or 16-gauge nails. These are stronger than brad nails and can secure heavier trim.
- Nail Size: 1 inch to 2.5 inches
- Best For: Baseboards, door trim, window casings, crown molding
- Pros: Good holding power, strong enough for most trim, still leaves small holes
- Cons: Slightly larger holes than brad nailers
Finish nailers are the workhorses for most trim carpenters. They offer a balance between holding power and a clean look.
Pin Nailers
Pin nailers use ultra-thin 23-gauge pins. They’re used for the most delicate trim or when you don’t want to see any holes.
- Nail Size: 3/8 inch to 1-3/8 inch
- Best For: Small decorative trim, beading, tiny moldings
- Pros: Almost invisible holes, great for fragile pieces
- Cons: Very little holding power—often used with glue
Pin nailers are specialty tools. Most people don’t need one unless working with tiny or ornate trim.
Staple Guns
Staple guns shoot staples instead of nails. Some DIYers try using them for trim, but it’s not recommended.
- Nail Size: Staples from 1/2 inch to 2 inches
- Best For: Upholstery, not trim
- Pros: Good for fabric or thin wood
- Cons: Staples are visible, can split trim, not professional for finish work
Staple guns are rarely used by pros for trim. The results usually look messy and can damage your material.
Framing Nailers
Framing nailers are designed for heavy construction, not trim.
- Nail Size: 2 inches and longer, thick nails
- Best For: Framing walls, decks, large lumber
- Pros: High power
- Cons: Nails are too large for trim, damage likely
Never use a framing nailer for trim. The nails are too big and will ruin the look.
Comparing Nail Guns For Trim Work
The following table highlights the key differences between brad, finish, and pin nailers, focusing on what matters for trim work.
| Type | Nail Gauge | Nail Length Range | Best Use | Hole Size | Holding Power |
|---|---|---|---|---|---|
| Brad Nailer | 18 | 5/8″ – 2″ | Small/Medium Trim | Tiny | Medium |
| Finish Nailer | 15 or 16 | 1″ – 2.5″ | Medium/Large Trim | Small | High |
| Pin Nailer | 23 | 3/8″ – 1-3/8″ | Tiny/Delicate Trim | Almost Invisible | Low |
Choosing The Right Nail Gun For Your Trim Project
Many people ask, “What kind of nail gun for trim should I buy? ” The answer depends on your specific project, trim size, and desired finish.
For Most Homeowners
If you are a homeowner or beginner, an 18-gauge brad nailer is the safest and most versatile choice. It covers most trim jobs, including baseboards, window and door casings, and shoe molding.
- Why? The holes are small, making touch-ups easy. The nails are strong enough for common trim, and the tool is widely available and affordable.
For Pros Or Advanced Diyers
If you regularly install larger trim, a 16-gauge finish nailer is a better investment. It offers extra holding power for thick or heavy trim, such as large crown molding or tall baseboards.
- Why? The nails are thicker and longer, making them ideal for areas that need more support.
For Delicate Or Decorative Trim
If you work with very thin or decorative pieces, add a 23-gauge pin nailer to your toolkit. These are perfect for fine details where you don’t want any visible holes.
- Why? Pin nails are so thin they’re nearly invisible, but you should use glue for strength.
Corded Vs. Cordless Vs. Pneumatic
Nail guns come in three main power options:
- Pneumatic (air-powered): Connected to an air compressor. Reliable, fast, and light, but requires a compressor and hose.
- Cordless (battery-powered): No cords or hoses. Great for moving around, but heavier due to the battery.
- Electric (corded): Plugged into the wall. Less common for trim because the cord can get in the way.
Most pros prefer pneumatic for speed and light weight. DIYers often like cordless for convenience, especially for small jobs.
Key Features To Look For In A Trim Nail Gun
Not all nail guns are created equal. When choosing, pay attention to these features:
Adjustable Depth
A nail gun with adjustable depth lets you control how deep the nail goes. This is important for trim because you want the nail just below the surface—deep enough to fill, but not so deep it damages the material.
No-mar Tip
A no-mar tip is a soft or rubber tip that protects the trim from dents and scratches. This is essential for finish work where appearance matters.
Jam Clearing
All nail guns can jam sometimes. Look for a model with tool-free jam clearing so you can fix jams quickly without extra tools.
Magazine Size
A larger magazine means fewer reloads. For big projects, this saves time and frustration.
Weight And Ergonomics
Trim work can take hours. A lightweight, comfortable nail gun reduces fatigue and helps you work accurately.
Swivel Air Connector (pneumatic Models)
A swivel connector keeps the air hose from tangling, giving you more freedom to move.
Dry Fire Lockout
Some nail guns have a feature that stops the gun from firing when empty. This prevents damage to your tool and your trim.
Nail Gauge And Length Explained
Many beginners get confused by gauge numbers and nail lengths. Here’s what you need to know:
- Gauge refers to nail thickness. The higher the number, the thinner the nail. An 18-gauge nail is thinner than a 16-gauge.
- Length matters for holding power. Too short, and the trim will not stay put. Too long, and you might shoot through the trim or hit wiring.
For most trim:
- Use 18-gauge brad nails (1-1/4 to 2 inches) for baseboards and casings.
- Use 16-gauge finish nails (2 to 2-1/2 inches) for heavier or taller trim.
- Use 23-gauge pins (3/4 to 1-1/4 inches) for small decorative pieces.
Common Mistakes When Choosing A Nail Gun For Trim
Avoid these errors to get the best results:
- Using too thick a nail: This can split the trim or leave big holes.
- Choosing a gun with no depth adjustment: You’ll end up with nails sticking out or going too deep.
- Ignoring weight and balance: Heavy nailers make long jobs tiring and less accurate.
- Buying a framing nailer for trim: Framing nailers are not for trim—they’re too strong and the nails are too large.
- Not checking for a no-mar tip: You risk damaging the trim surface.
- Using nails that are too short or too long: Short nails may not hold, long nails could poke through or cause damage.
- Overlooking magazine size: Small magazines slow you down with frequent reloads.
Brands And Models Popular For Trim Work
Several brands stand out for reliability and performance in trim nailers. Here’s a quick look at some favorites among pros and DIYers.
| Brand | Model | Type | Power Source | Key Feature |
|---|---|---|---|---|
| DeWalt | DCN680 | Brad | Battery | Lightweight, cordless |
| Bostitch | BT1855K | Brad | Pneumatic | No-mar tip, tool-free jam |
| Porter-Cable | FN250C | Finish | Pneumatic | Dial-a-depth control |
| Makita | XNB01Z | Brad | Battery | Compact, easy to use |
| Hitachi (Metabo HPT) | NT65MA4 | Finish | Pneumatic | 360° exhaust, tool-free jam |
These brands are known for good balance, reliability, and availability. Always check local availability and reviews, as models can change.
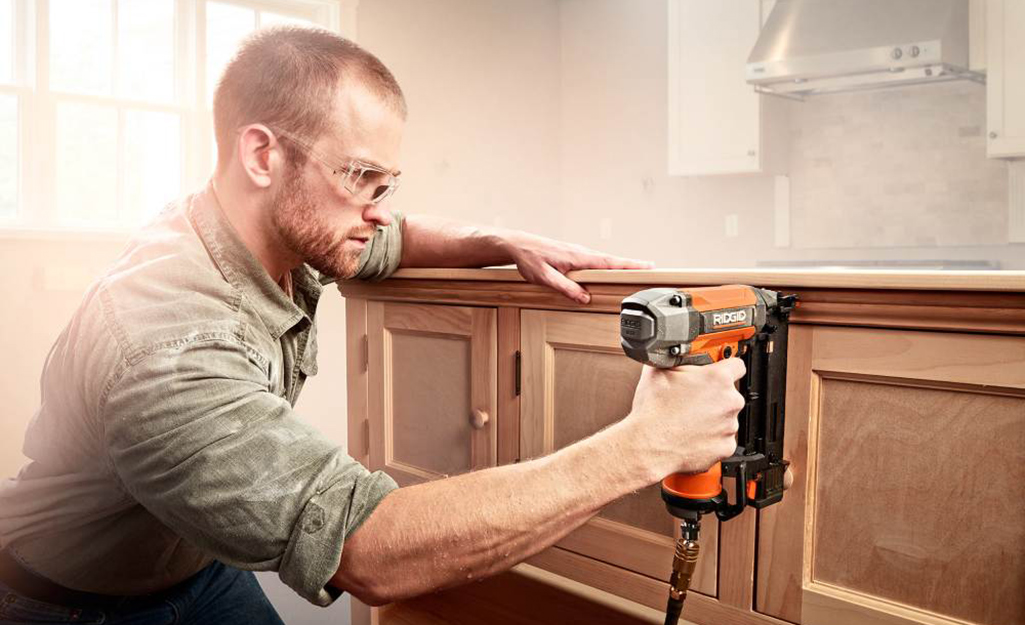
Practical Tips For Using A Nail Gun On Trim
Even with the right tool, technique matters. Here are some essential tips to get pro-level results:
Test On Scrap First
Before nailing your real trim, shoot a few nails into a scrap piece. Check the depth and make adjustments. This helps you avoid mistakes on visible areas.
Nail At An Angle
Shooting nails at a slight angle increases holding power and reduces the chance of splitting the trim. Alternate the angle for each nail when attaching wide pieces.
Don’t Overdrive The Nails
If the nail sinks too deep, it will be hard to fill and may damage the trim. Adjust the depth setting so the nail head is just below the surface.
Space Your Nails Correctly
For baseboards and large trim, place nails about every 16–24 inches. For small trim, every 10–12 inches is usually enough.
Use Filler On Nail Holes
Even the smallest nail leaves a mark. Use wood filler or putty to cover holes, then sand smooth before painting or staining.
Be Careful Of Wires And Pipes
When nailing near walls, watch out for hidden wires or pipes. Use a stud finder and mark safe areas.
Use Glue For Extra Hold
For large or heavy trim, add a bead of construction adhesive before nailing. This gives extra strength and prevents movement.
Clean And Oil Your Nail Gun
Regular cleaning and oiling (for pneumatic models) keeps your nail gun working smoothly and prevents jams.
Real-world Example: Installing Baseboards
Let’s walk through a common trim project—installing baseboards—to show how choosing the right nail gun makes a difference.
- Select the Nail Gun: For standard baseboards (1/2–3/4 inch thick), an 18-gauge brad nailer with 2-inch nails is perfect.
- Prepare the Area: Remove old baseboards, clean the surface, and measure for new cuts.
- Test on Scrap: Fire a few test nails to set depth.
- Apply Glue (Optional): Add construction adhesive to the back for a stronger hold.
- Nail the Baseboard: Space nails every 16–18 inches, angling slightly. Sink the nail just below the surface.
- Fill Holes: Use wood filler, let dry, then sand smooth.
- Finish: Caulk gaps, then paint or stain.
Using a brad nailer, you’ll get clean holes and avoid splitting the wood. If you used a finish nailer, the holes would be slightly bigger but still easy to hide. A framing nailer would likely split the wood and leave ugly holes.
Insights Many Beginners Overlook
- Nail Angle and Placement: Many new users shoot nails straight in, but angling nails slightly (toe-nailing) greatly improves holding power and reduces the risk of the trim pulling away.
- Compressor Size for Pneumatic Nailers: If using a pneumatic nailer, a small pancake compressor (2–6 gallons) is enough for trim work. Larger compressors are heavier, louder, and overkill for this purpose.
- Impact of Wood Type: Hardwoods (like oak) may need a finish nailer for thicker trim, while softwoods (like pine) are easily handled by a brad nailer.
- Climate Effects: In humid areas, MDF and wood can swell. If you nail too close to the edge, trim may split as it expands. Always nail at least 1/2 inch from edges.
Safety Tips When Using A Trim Nail Gun
Nail guns are powerful tools. Here’s how to use them safely:
- Always wear safety glasses to protect your eyes from flying debris.
- Keep your hands away from the nail exit area.
- Never point the nail gun at yourself or others.
- Disconnect the power or air source before clearing jams or loading.
- Use the safety nose (contact tip) properly—never bypass it.
When To Hire A Pro Instead
If you’re working with expensive trim, curved moldings, or complex designs (like built-up crown), it may be wise to hire a professional. Mistakes can be costly, and pros have specialized tools and experience. For standard baseboards, door, and window casings, most homeowners can get great results with the right nail gun and a little patience.
Cost Considerations
Trim nail guns vary widely in price. Pneumatic models are often cheaper but require a compressor, which adds to the cost. Cordless models are pricier but offer more freedom. Expect to pay:
- Brad nailer: $60–$250 (pneumatic), $150–$350 (cordless)
- Finish nailer: $80–$300 (pneumatic), $200–$400 (cordless)
- Pin nailer: $50–$200 (pneumatic), $180–$350 (cordless)
Don’t forget to budget for nails, oil (for pneumatic), and maybe a small compressor if you don’t own one.
Environmental Impact And Materials
Some nail gun nails are galvanized to prevent rust, especially for trim in bathrooms or kitchens. Stainless steel nails are best for outdoor trim. For eco-conscious users, some brands now offer recyclable packaging and reduced-emission tools.
Additional Resources
For deeper technical details and comparisons, you might find Wikipedia’s Nail Gun entry helpful.
Frequently Asked Questions
What Size Nail Gun Do I Need For Trim?
For most trim work, an 18-gauge brad nailer is ideal. If you’re installing larger or heavier trim, a 16-gauge finish nailer may be better. For tiny decorative trim, a 23-gauge pin nailer is best.
Can I Use A Brad Nailer For Baseboards?
Yes, you can use a brad nailer for baseboards up to about 3/4 inch thick. Use 1-1/2 to 2-inch brads for best results. For thicker baseboards, a finish nailer is more secure.
Are Cordless Trim Nailers As Good As Pneumatic Ones?
Cordless nailers are convenient and powerful enough for most trim jobs. However, they are heavier and may have a slight delay between shots. Pneumatic nailers are lighter and can shoot nails faster, but require a compressor.
Do I Need To Fill Nail Holes In Trim?
Yes, even small brad or pin nails leave holes. Use a good wood filler or putty before painting or staining for a smooth, professional finish.
Is A Staple Gun Ok For Trim?
Staple guns are not recommended for trim. Staples are visible and can split the material. Use a brad or finish nailer for best results.
Choosing the right nail gun for trim is about matching the tool to your project and skill level. By understanding the types, features, and best practices, you can achieve smooth, beautiful trim work with confidence. Start with a brad nailer for most jobs, move up to a finish nailer for bigger pieces, and use a pin nailer for the smallest details.
With the right tool and technique, even a beginner can get pro-level results.